Document Overview
Purpose of this document is to describe where & how to restore, export and, import databases from the Lifecycle services. Microsoft has already configured the Environment database movement cycle within Dynamics Lifecycle Services.
Following are the baselines:
- Environments database movement always use to up to down tiers
- Each environment require downtime when any database movement
- The development machines should have max hardware resources
Development VM Server Hardware Summary
| VM Quantity | V-Cores Requirements | RAM Requirements | Storage Requirements GB |
| 1 | 8 CPU Cores | 32GB | 500 GB (SSD) |
Database Movement Model.
This document will provide you the knowledge of how databases movement works with Lifecycle services and on the development machines.


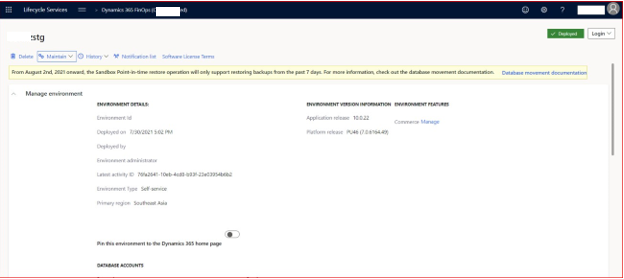
On the Lifecycle Services,
Open Sandbox (Staging) Environment.
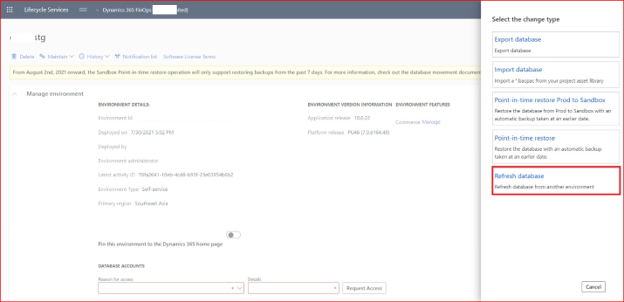
Click Maintain:

Select the required step:
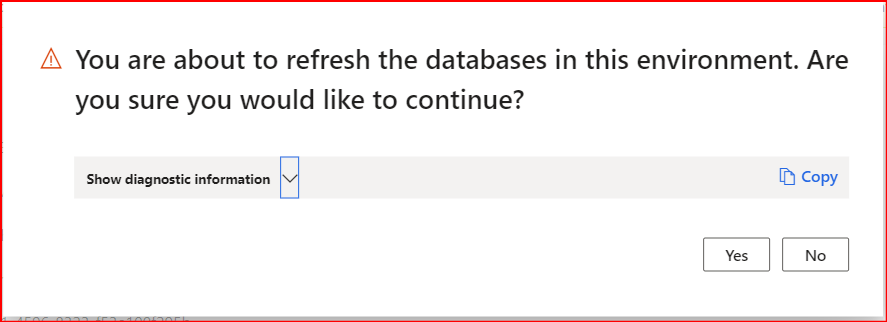
Refresh Database: (Production to UAT)
This process restore Production environment database on the Staging environment & this task takes 24 hours depending on the database size

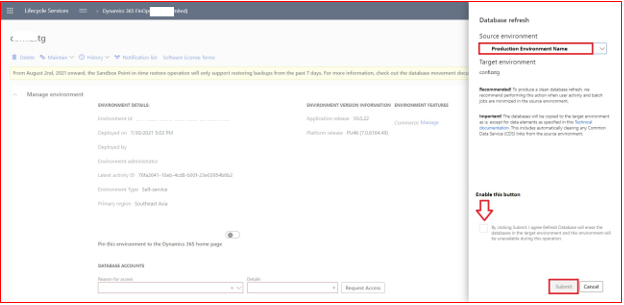

Click Yes.

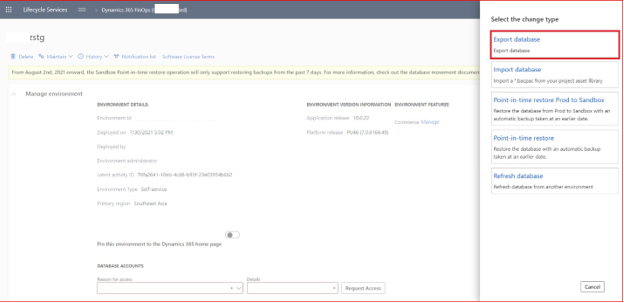
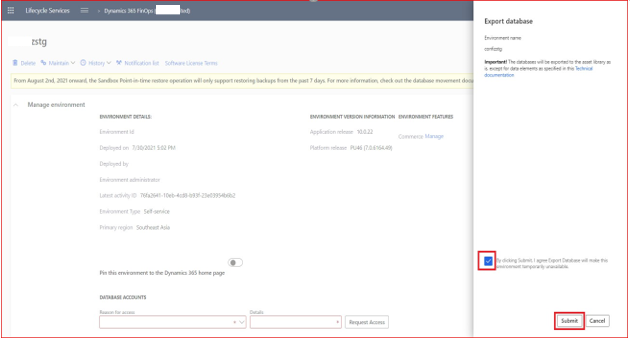
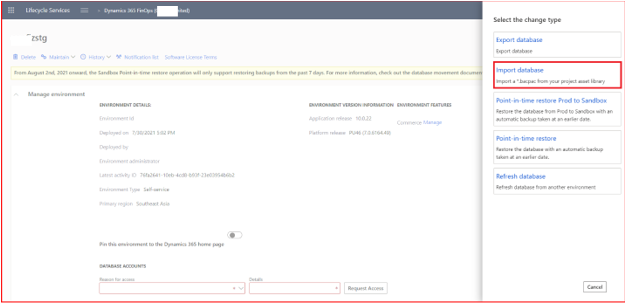
Export Database: (UAT to LCS Asset Library)
This process will export current Staging environment on the Lifecycle services asset library & this process takes more than 2 hours depending on the database size.


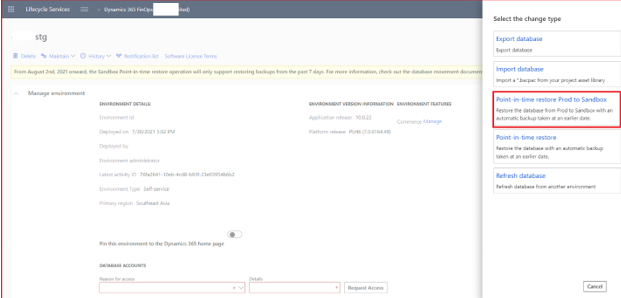
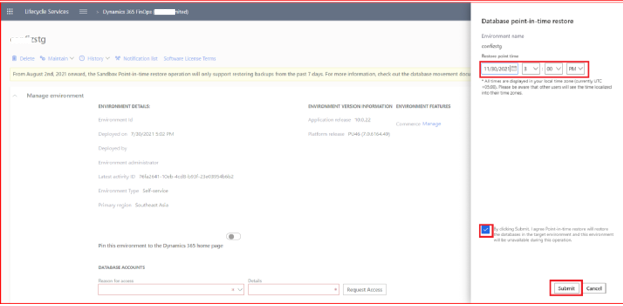
Point-in-time restore Prod to Sandbox:
This process will restore production environment database on the sandbox (staging) environment with your require (Date & Time) & this process will take 24 hours depending on the database size.

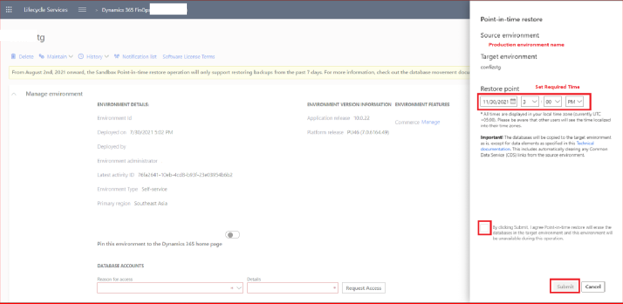

UAT Point-In-Time Restore:
This process will restore Staging environment database on the same Staging environment with your (Date & Time) & this process will take 24 hours depending on the database size.
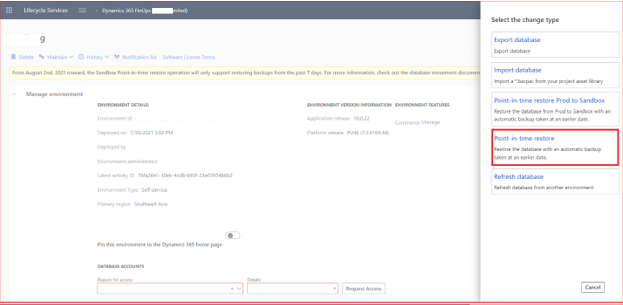


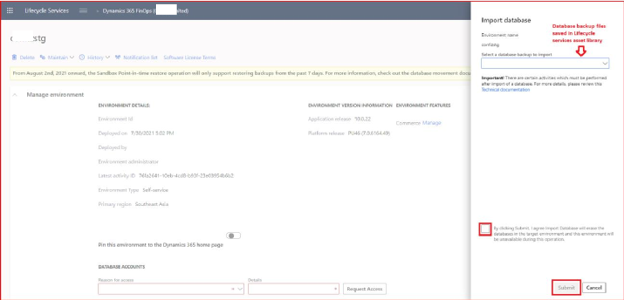
Import Database:
This process will allow user to import backed up database from LCS asset library & this process will import database on the Staging environment and this take 24 hours depending on the database size.


Database Restoration process on the Development machine (Cloud & Local hosted)
For the database restoration on the development machine weather it is cloud-hosted machine or local hosted development machine there are steps to follow:
- Download the database (file format: .bacpac) file from Lifecycle services asset library.
- Download SQL package for windows tool to import the database on the
- Specified database backup file on the folder and use import query to run the import
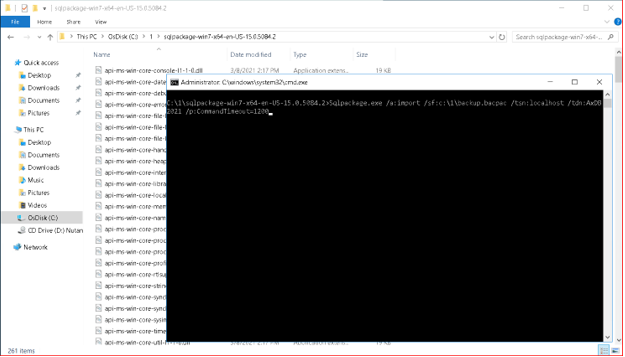
- First, run this query to import the Azure sql backup
SqlPackage.exe /a:import /sf:D:\Exportedbacpac\my.bacpac /tsn:localhost /tdn:<target database name>
/p:CommandTimeout=1200
- tsn (target server name) – The name of the SQL Server to import
- tdn (target database name) – The name of the database to import The database should not already exist.
- sf (source file) – The path and name of the file to import
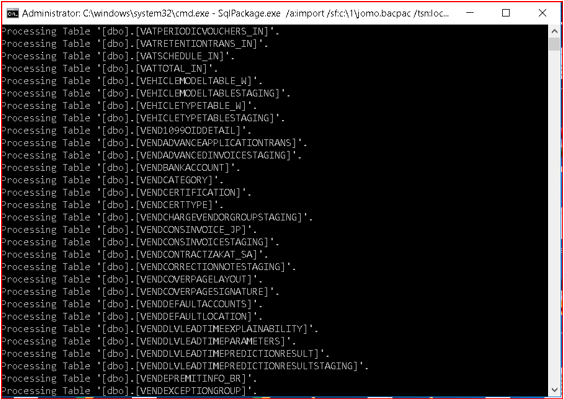
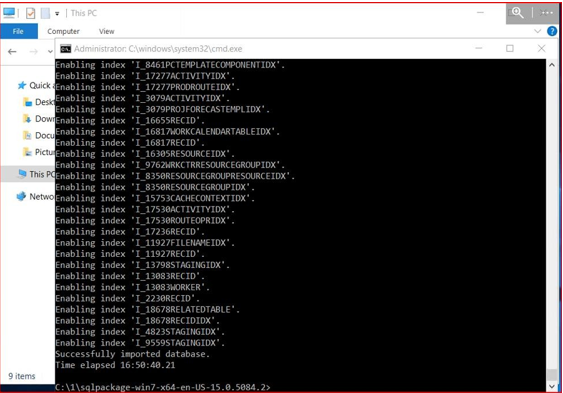
Edit &Copy this query and paste in Command (Run as Administrator) & press enter button. Import process will start


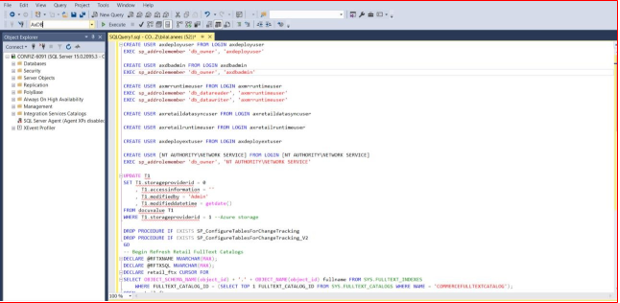
Update the database: Run the following script against your database to add the users you deleted while creating .bacpac file. Update your database name in Alter Command.
CREATE USER axdeployuser FROM LOGIN axdeployuser EXEC sp_addrolemember ‘db_owner’, ‘axdeployuser’
CREATE USER axdbadmin FROM LOGIN axdbadmin EXEC sp_addrolemember ‘db_owner’, ‘axdbadmin’
CREATE USER axmrruntimeuser FROM LOGIN axmrruntimeuser EXEC sp_addrolemember ‘db_datareader’, ‘axmrruntimeuser’ EXEC sp_addrolemember ‘db_datawriter’, ‘axmrruntimeuser’
CREATE USER axretaildatasyncuser FROM LOGIN axretaildatasyncuser CREATE USER axretailruntimeuser FROM LOGIN axretailruntimeuser CREATE USER axdeployextuser FROM LOGIN axdeployextuser
CREATE USER [NT AUTHORITY\NETWORK SERVICE] FROM LOGIN [NT AUTHORITY\NETWORK SERVICE]
EXEC sp_addrolemember ‘db_owner’, ‘NT AUTHORITY\NETWORK SERVICE’
UPDATE T1
SET T1.storageproviderid = 0
, T1.accessinformation = ”
, T1.modifiedby = ‘Admin’
, T1.modifieddatetime = getdate() FROM docuvalue T1
WHERE T1.storageproviderid = 1 –Azure storage
DROP PROCEDURE IF EXISTS SP_ConfigureTablesForChangeTracking DROP PROCEDURE IF EXISTS SP_ConfigureTablesForChangeTracking_V2 GO
— Begin Refresh Retail FullText Catalogs DECLARE @RFTXNAME NVARCHAR(MAX); DECLARE @RFTXSQL NVARCHAR(MAX);
DECLARE retail_ftx CURSOR FOR
SELECT OBJECT_SCHEMA_NAME(object_id) + ‘.’ + OBJECT_NAME(object_id) fullname FROM SYS.FULLTEXT_INDEXES
WHERE FULLTEXT_CATALOG_ID = (SELECT TOP 1 FULLTEXT_CATALOG_ID FROM SYS.FULLTEXT_CATALOGS WHERE NAME = ‘COMMERCEFULLTEXTCATALOG’);
OPEN retail_ftx;
FETCH NEXT FROM retail_ftx INTO @RFTXNAME;
BEGIN TRY
WHILE @@FETCH_STATUS = 0 BEGIN
PRINT ‘Refreshing Full Text Index ‘ + @RFTXNAME; EXEC SP_FULLTEXT_TABLE @RFTXNAME, ‘activate’;
SET @RFTXSQL = ‘ALTER FULLTEXT INDEX ON ‘ + @RFTXNAME + ‘ START FULL POPULATION’;
EXEC SP_EXECUTESQL @RFTXSQL;
FETCH NEXT FROM retail_ftx INTO @RFTXNAME; END
END TRY BEGIN CATCH
PRINT error_message() END CATCH
CLOSE retail_ftx;
DEALLOCATE retail_ftx;
— End Refresh Retail FullText Catalogs
–Begin create retail channel database record–
declare @ExpectedDatabaseName nvarchar(64) = ‘Default’; declare @DefaultDataGroupRecId BIGINT;
declare @ExpectedDatabaseRecId BIGINT;
IF NOT EXISTS (select 1 from RETAILCONNDATABASEPROFILE where NAME =
@ExpectedDatabaseName) BEGIN
select @DefaultDataGroupRecId = RECID from RETAILCDXDATAGROUP where NAME = ‘Default’;
insert into RETAILCONNDATABASEPROFILE (DATAGROUP, NAME, CONNECTIONSTRING, DATASTORETYPE)
values (@DefaultDataGroupRecId, @ExpectedDatabaseName, NULL, 0);
select @ExpectedDatabaseRecId = RECID from RETAILCONNDATABASEPROFILE where NAME = @ExpectedDatabaseName;
insert into RETAILCDXDATASTORECHANNEL (CHANNEL, DATABASEPROFILE)
select RCT.RECID, @ExpectedDatabaseRecId from RETAILCHANNELTABLE RCT inner join RETAILCHANNELTABLEEXT RCTEX on RCTEX.CHANNEL = RCT.RECID
update RETAILCHANNELTABLEEXT set LIVECHANNELDATABASE =
@ExpectedDatabaseRecId where LIVECHANNELDATABASE = 0 END;
–End create retail channel database record

Turn on change tracking
If change tracking was turned on in the source database, be sure to turn it on in the newly provisioned database in the target environment. To turn on change tracking, use the ALTER DATABASE command.
ALTER DATABASE [your database name] SET CHANGE_TRACKING = ON (CHANGE_RETENTION = 6 DAYS, AUTO_CLEANUP = ON);
To help guarantee that the current version of the store procedure that is related to change tracking is used in the new database, you must turn change tracking on or off for a data entity in Data management. You can choose any entity. This step is required in order to trigger a refresh of the store procedure.
Stop the below service to switch the database.
- World Wide Web publishing
- Microsoft Dynamics 365 Unified Operations: Batch Management Service
- Microsoft Dynamics 365 Unified Operations: Data Import Export Framework Service
- Management Reporter 2012 Process
Once the services are stopped, rename your original database to AxDB_orig, rename your newly database to AxDB, and then restart the three services.
Start using the new database
- Reference Link: Database movement
- Get SQL-Package for Windows Download Link: sqlpackage for Windows