
Microsoft Dynamics Supply Chain Management-Procure To Pay Process
Purchase Order Creation
1.Open Accounts Payable 2.Purchase Orders 3.All Purchase Orders
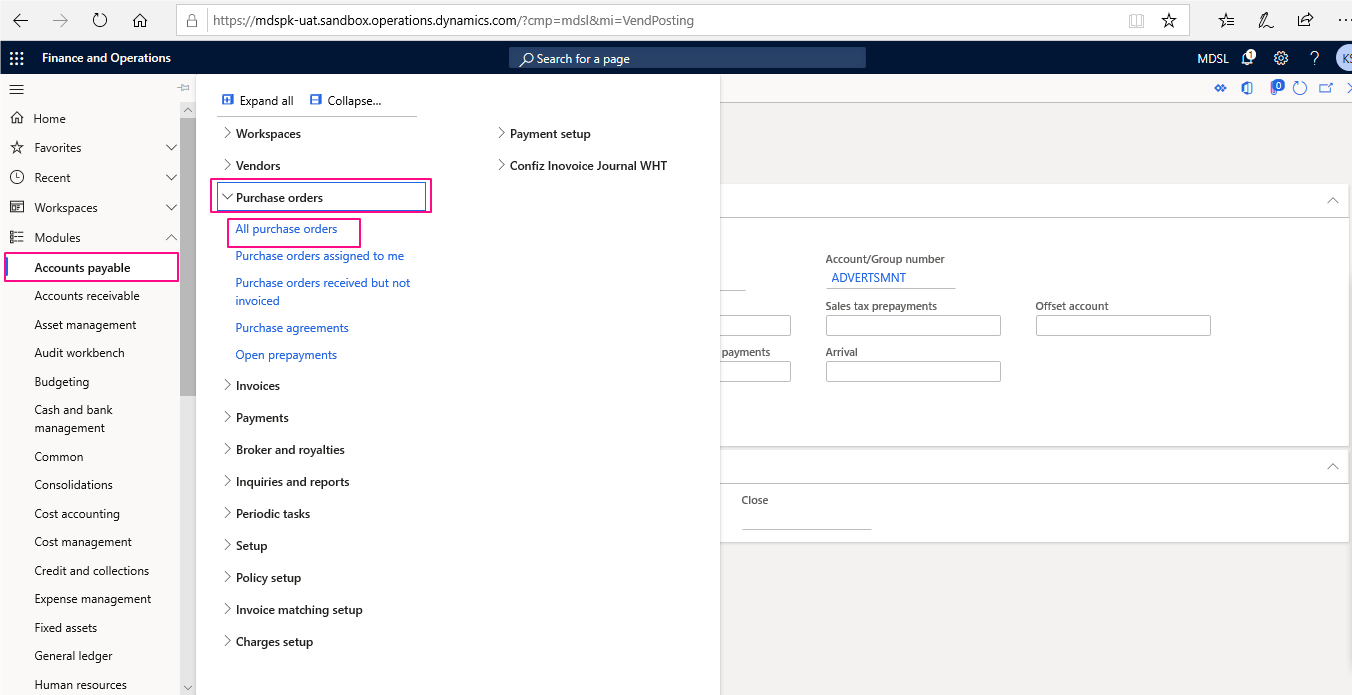
Click New in the action pane to create a new purchase Order
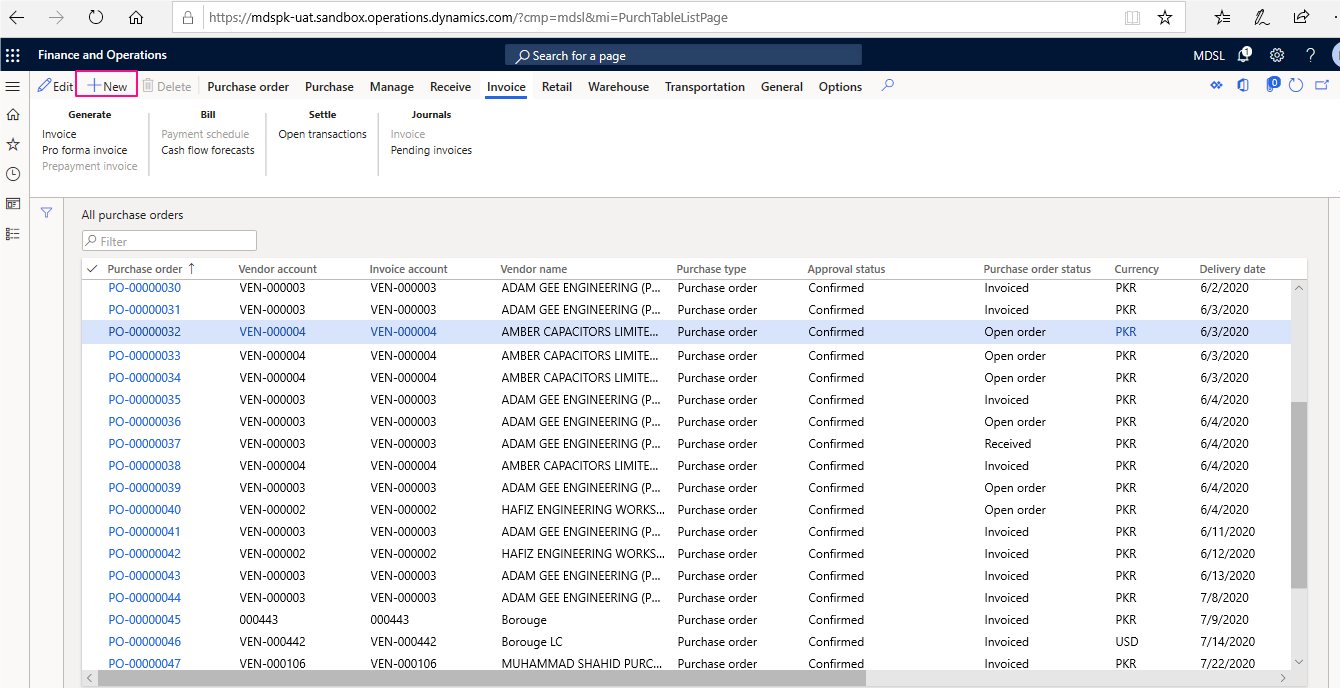
Create purchase Order window will be opened, select a Vendor Account from Vendor Account Drop Down Menu. Once a Vendor Account is selected, Vendor Name and Address Will Automatically be filled along with delivery address. Select Item number, its variant,quantity and price. Click Add lines if you want to add another item in PO and repeat the same process. Choose Site and Warehouse from Line details underneath Product fast tab.
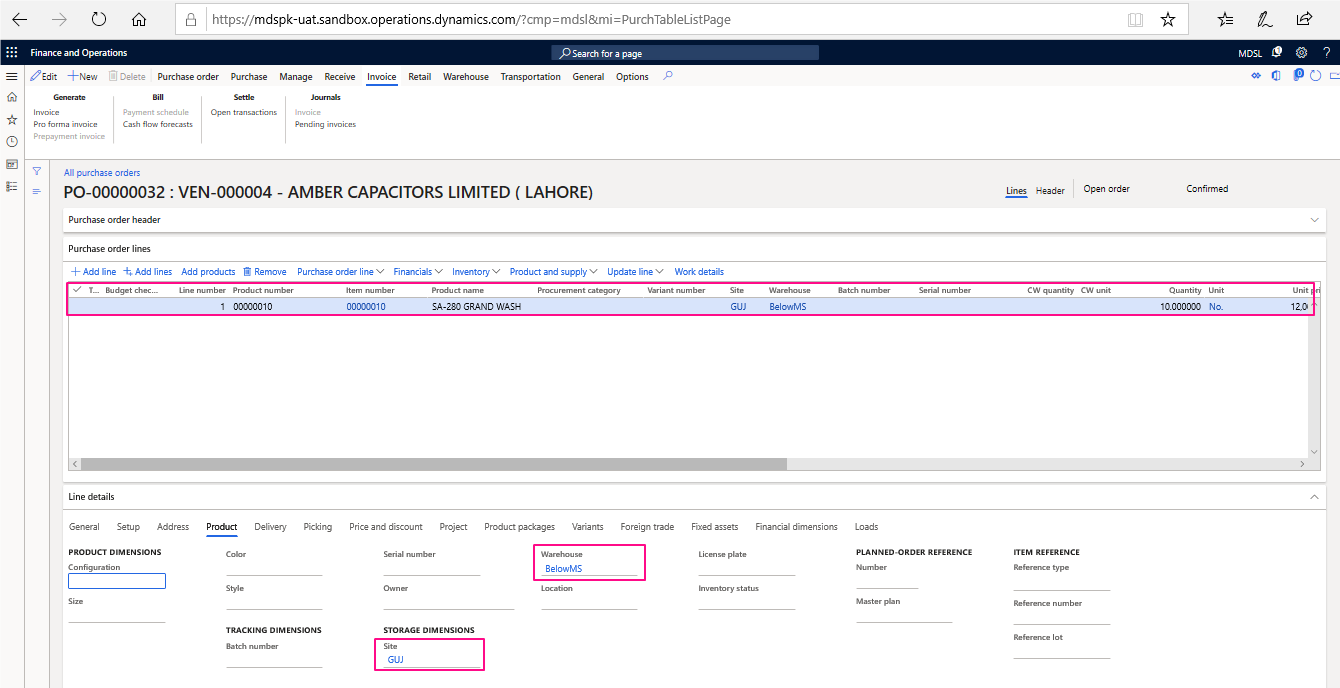
Choose the Financial dimensions from Line details underneath Financial dimensions’ dropdown and confirm the PO.

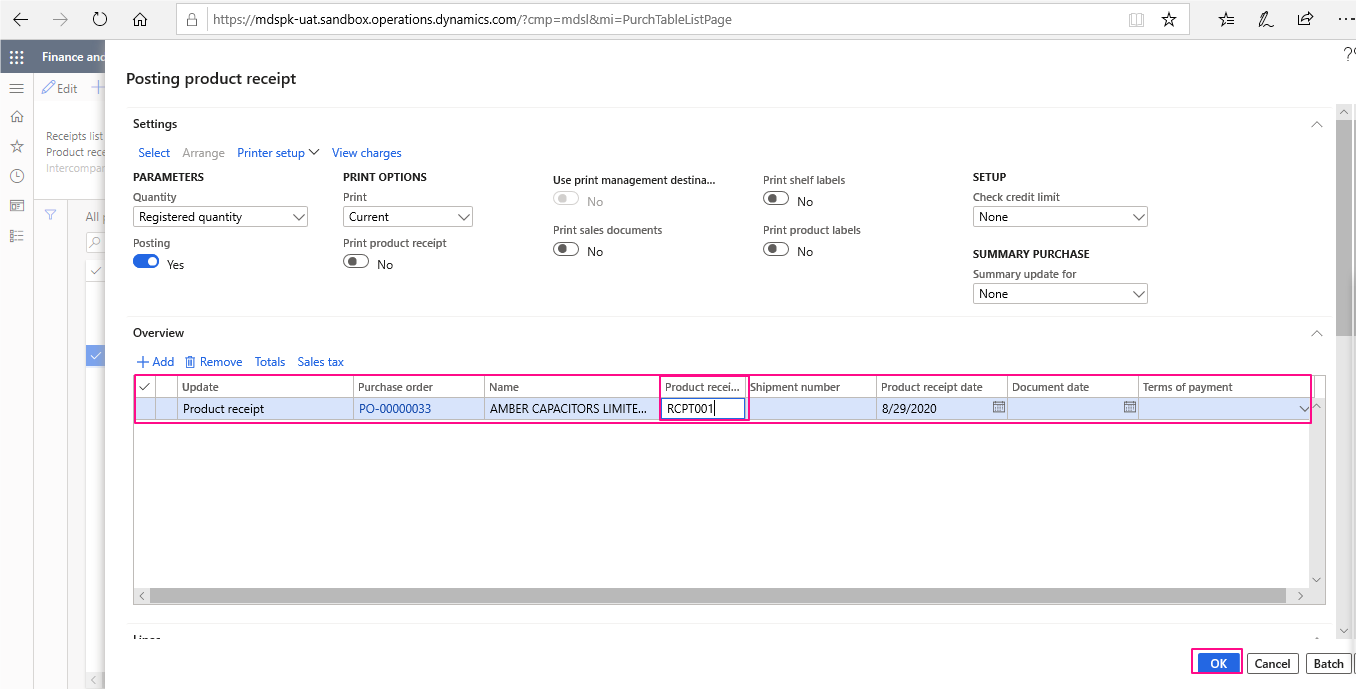
Purchase Product Receipt
Choose created PO, go to Receive Tab in Action Pane and click Product Receipt under Generate Tab.
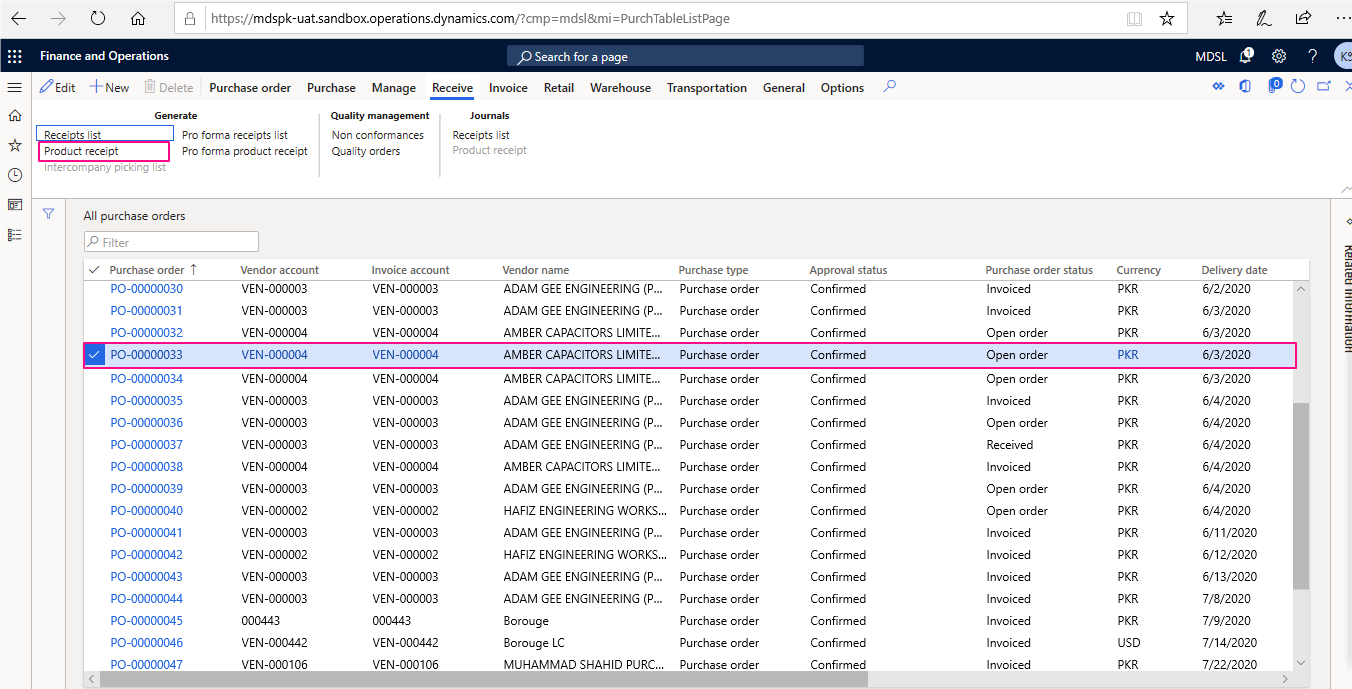
A Posting Product Receipt Form will open, enter the Product Receipt Number Modify quantity if it’s a partial quantity. (Optional). Enter Product receipt number in the Product receipt field. Select date in the Product receipt date field. Click OK to post.
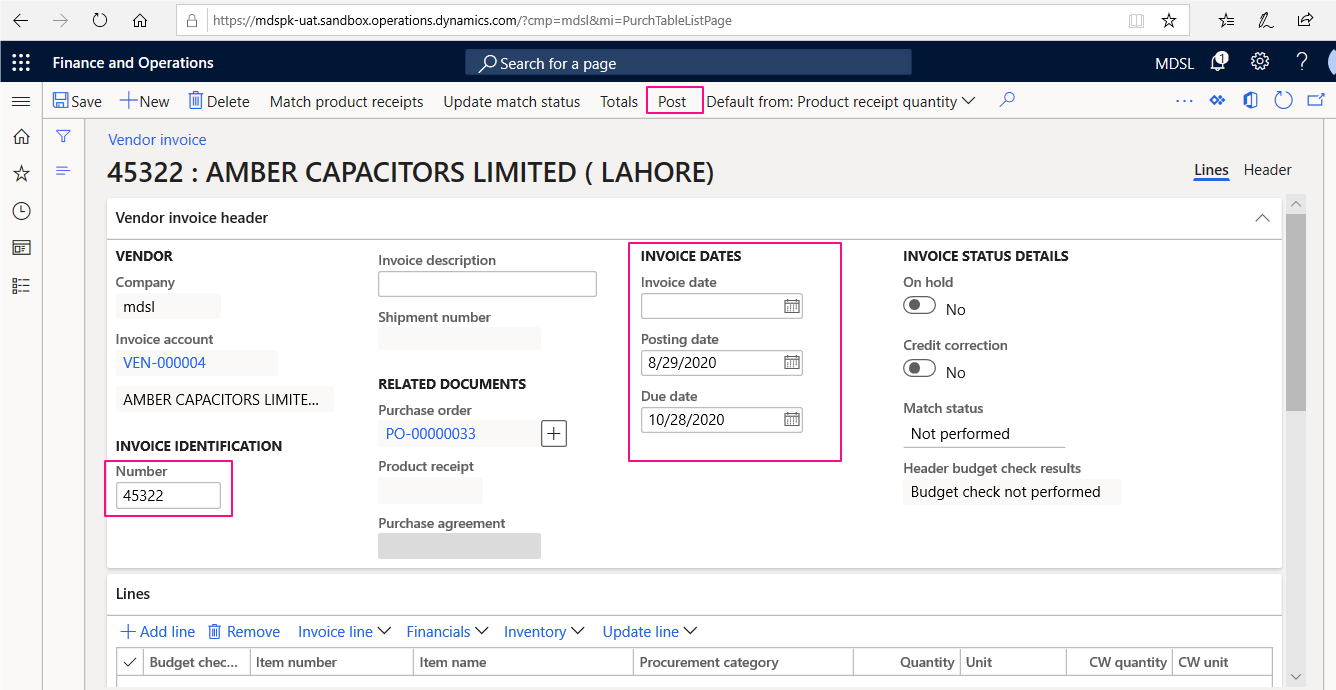
Purchase Order Invoicing
Choose PO, Click on Invoice tab in the purchase order form. Click on Invoice button in the Generate group of action pane.
An Invoice Form will open, Enter invoice number in the Invoice number field. Select Invoice date in the Invoice date field. Click on Post button to post invoice.
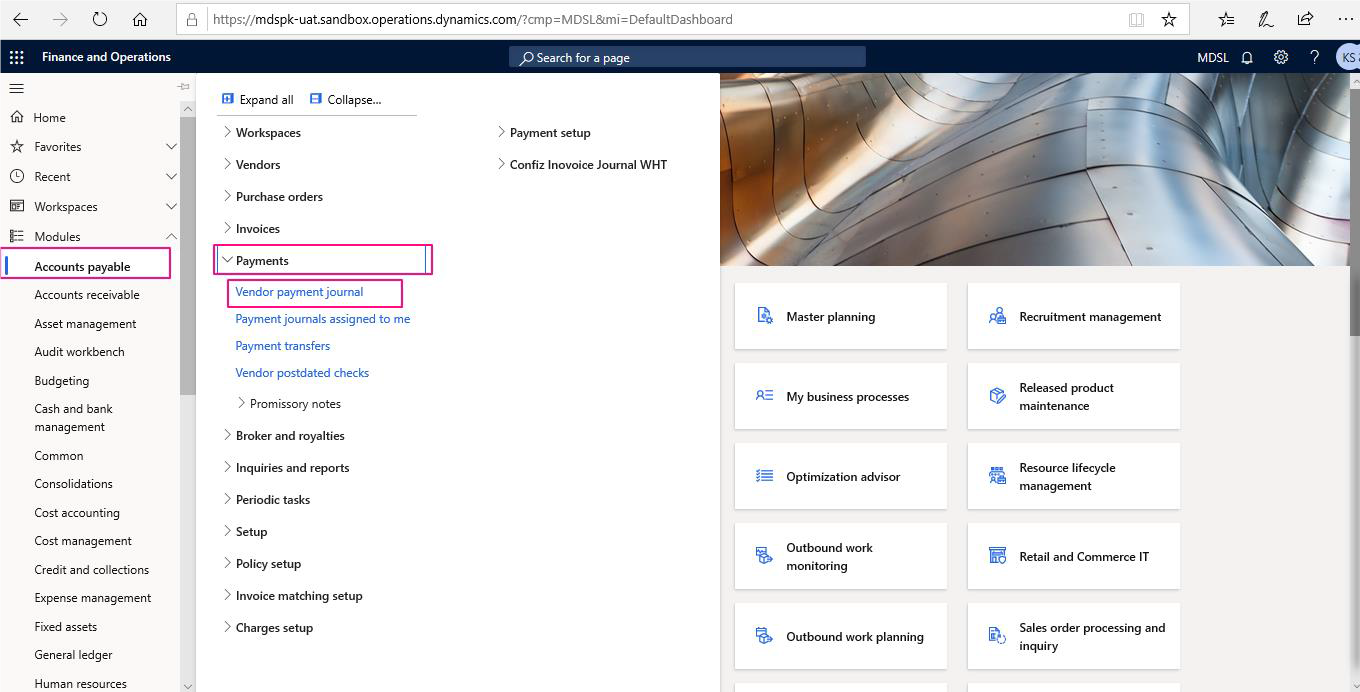
Vendor Payment
To make Vendor Payment, go to>Accounts payable> Payments and then click >Vendor Payment journal.
Click New to create a new journal and then select the newly created Journal Batch Number. Open the Selected Journal Lines
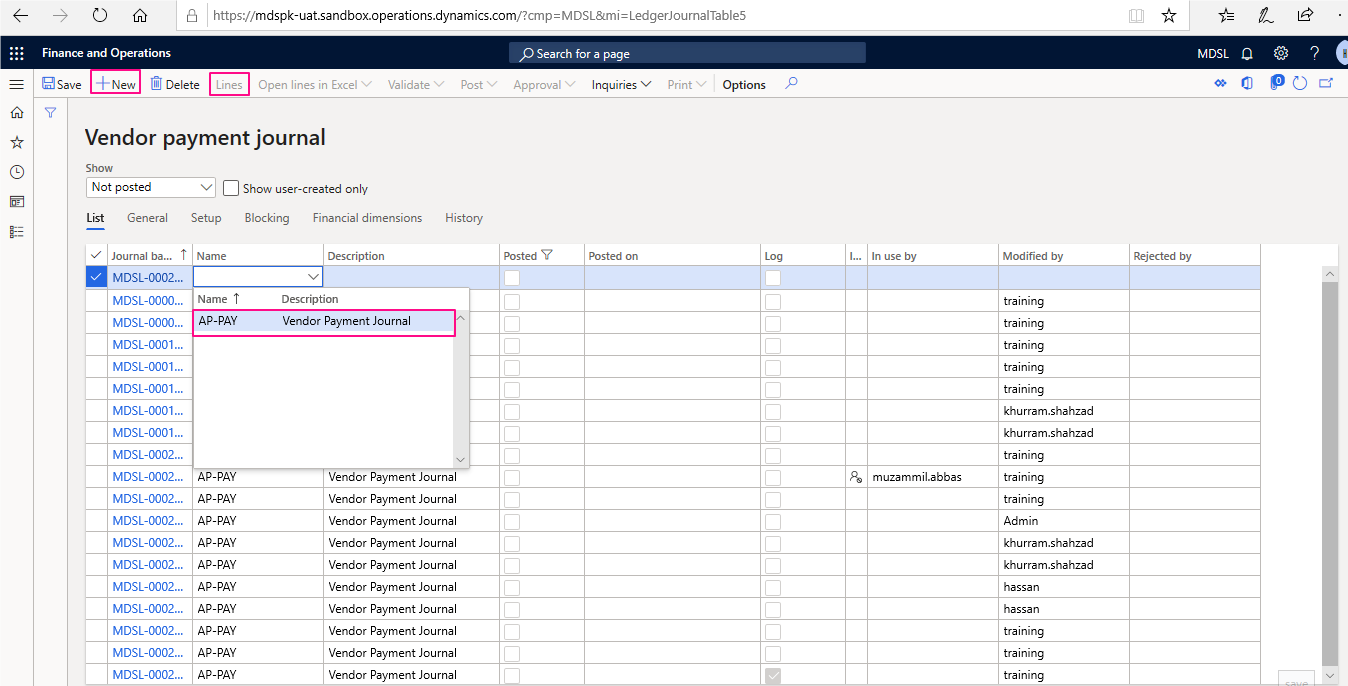
A form will open where user will select Vendor Account number, Description, Debit or Credit.
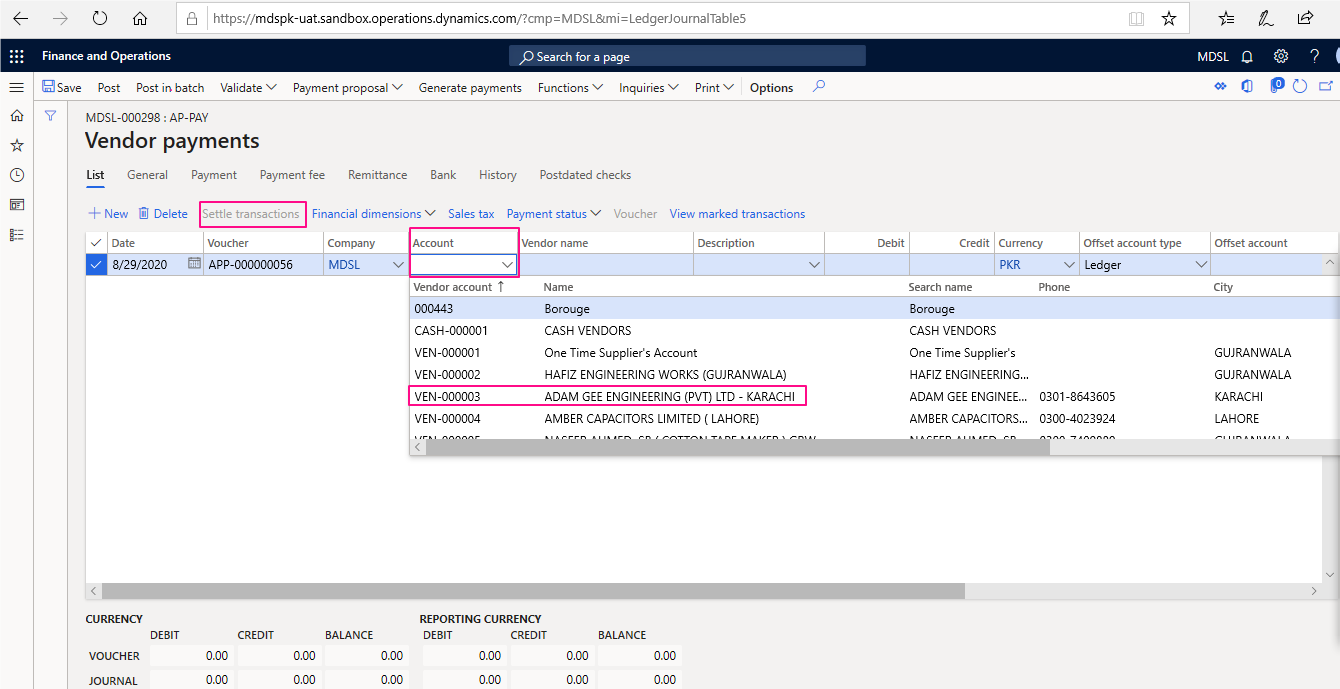
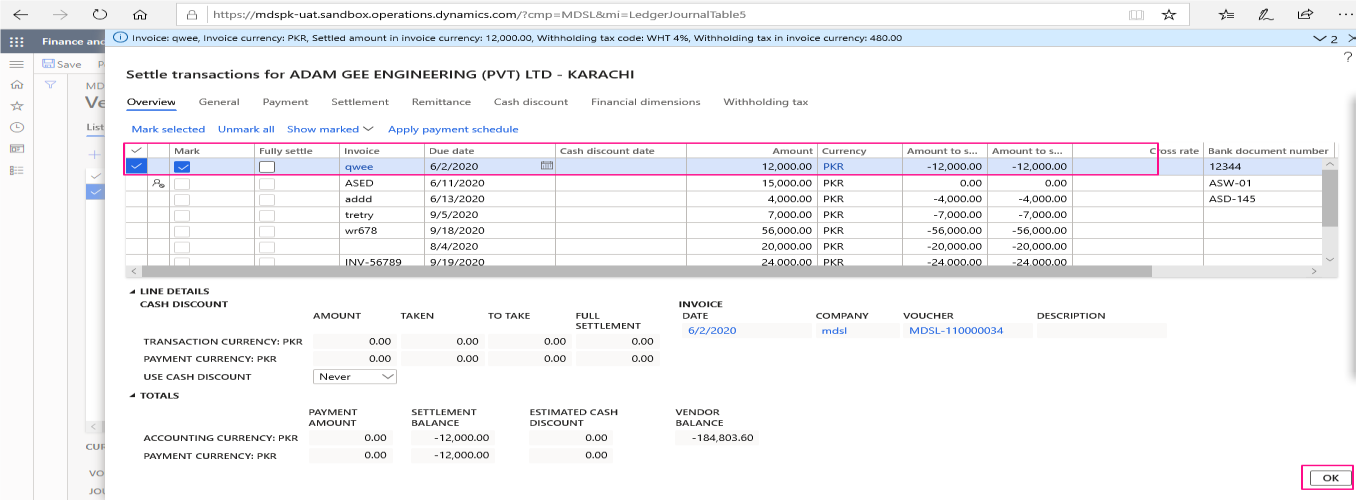
After choosing Vendor Account, click on Settle transactions and mark an invoice to pay, Click Ok
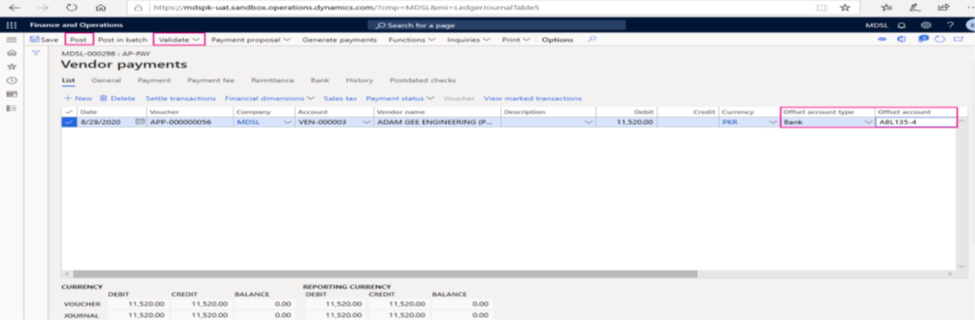
After marking an invoice Choose Offset invoice, Validate & Post the Journal.


Leave a Reply
You must be logged in to post a comment.

