
Microsoft Dynamics 365 Vendor Collaboration- Part One
Introduction of Vendor Collaboration:
The vendor collaboration interface exposes a limited set of information about purchase orders, invoices, and
consignment stock to external vendor users. From this interface, a vendor can also reply to requests for quotation
(RFQs), and view and edit basic company information.
Benefits of Vendor Collaboration
The Vendor Collaboration module in Dynamics 365 Finance and Operations offers vendors a way to directly work within
the system and take actions on various documents.
▪ This can enhance communication channels between a company and its vendors.
▪ it is important to consider the consequences of adding pressure on vendors to take a greater level of
accountability over their actions.
Vendor Collaboration Configuration Flow:
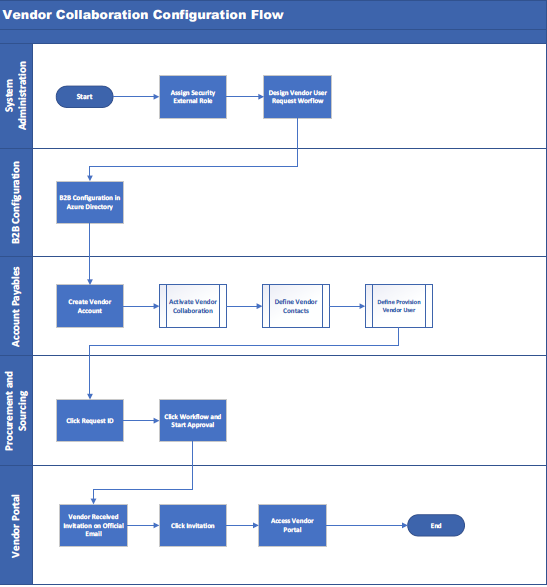
Pre-Requisite Steps
There are following pre-requisite steps
1. Assign security external roles
2. Design vendor user request workflow 3. Configure B2B user to Azure Active Directory (Infra- Staff will do this activity)
4. Create vendor
a. Active vendor collaboration functionality
b. Define vendor contacts
c. Define provision vendor user
5. Go to/Click request ID
6. Go to/Click workflow for approval
7. Vendor receives invitation on official email
8. Go to/Click invitation
9. Access vendor Portal
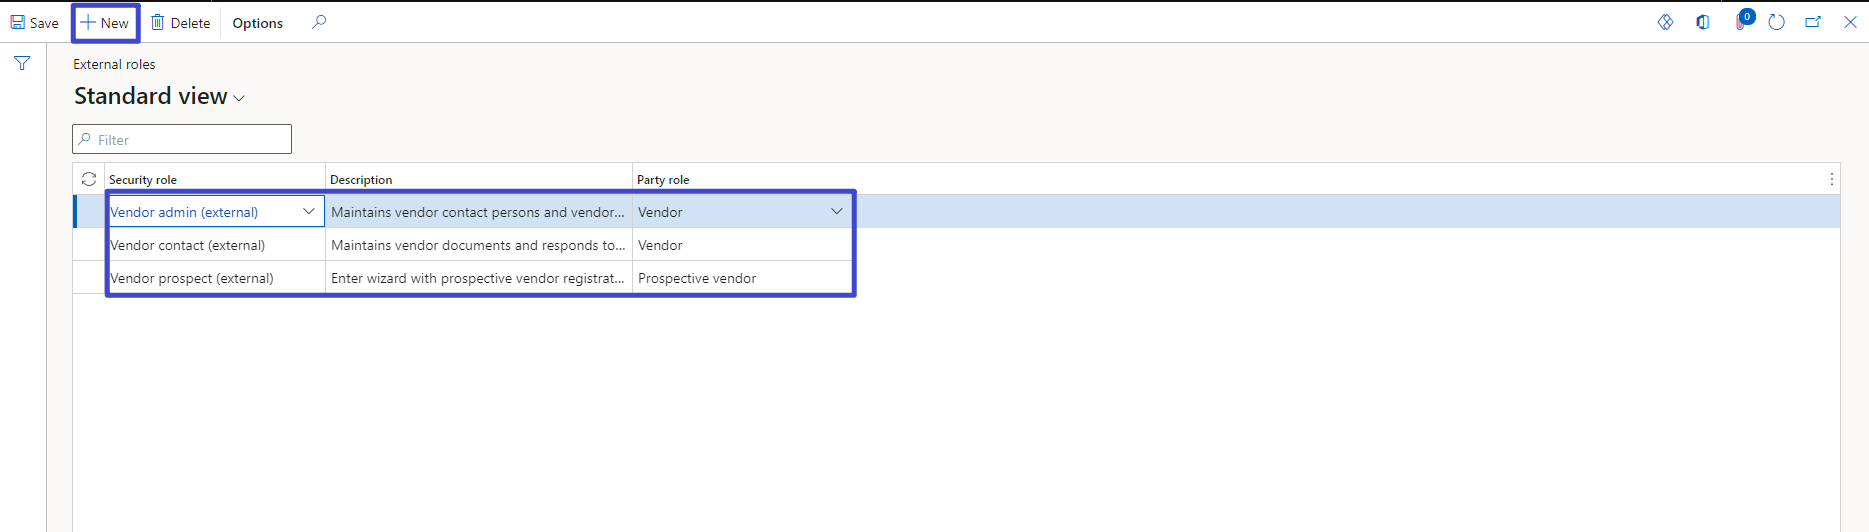
Assign Security External Roles:
Navigation: System Administration → Security Roles → External Roles
1. Click, new button
2. Add security roles, vendor admin (external), Vendor contact (external)
3. Enter description
a. Maintains vendor contact persons and vendor user requests
b. Maintains vendor documents and responds to vendor inquiries in the vendor collaboration interface.
c. Enter wizard with prospective vendor registration information and questionnaires.
4. Select party role, Vendor, Vendor, Prospective vendor.
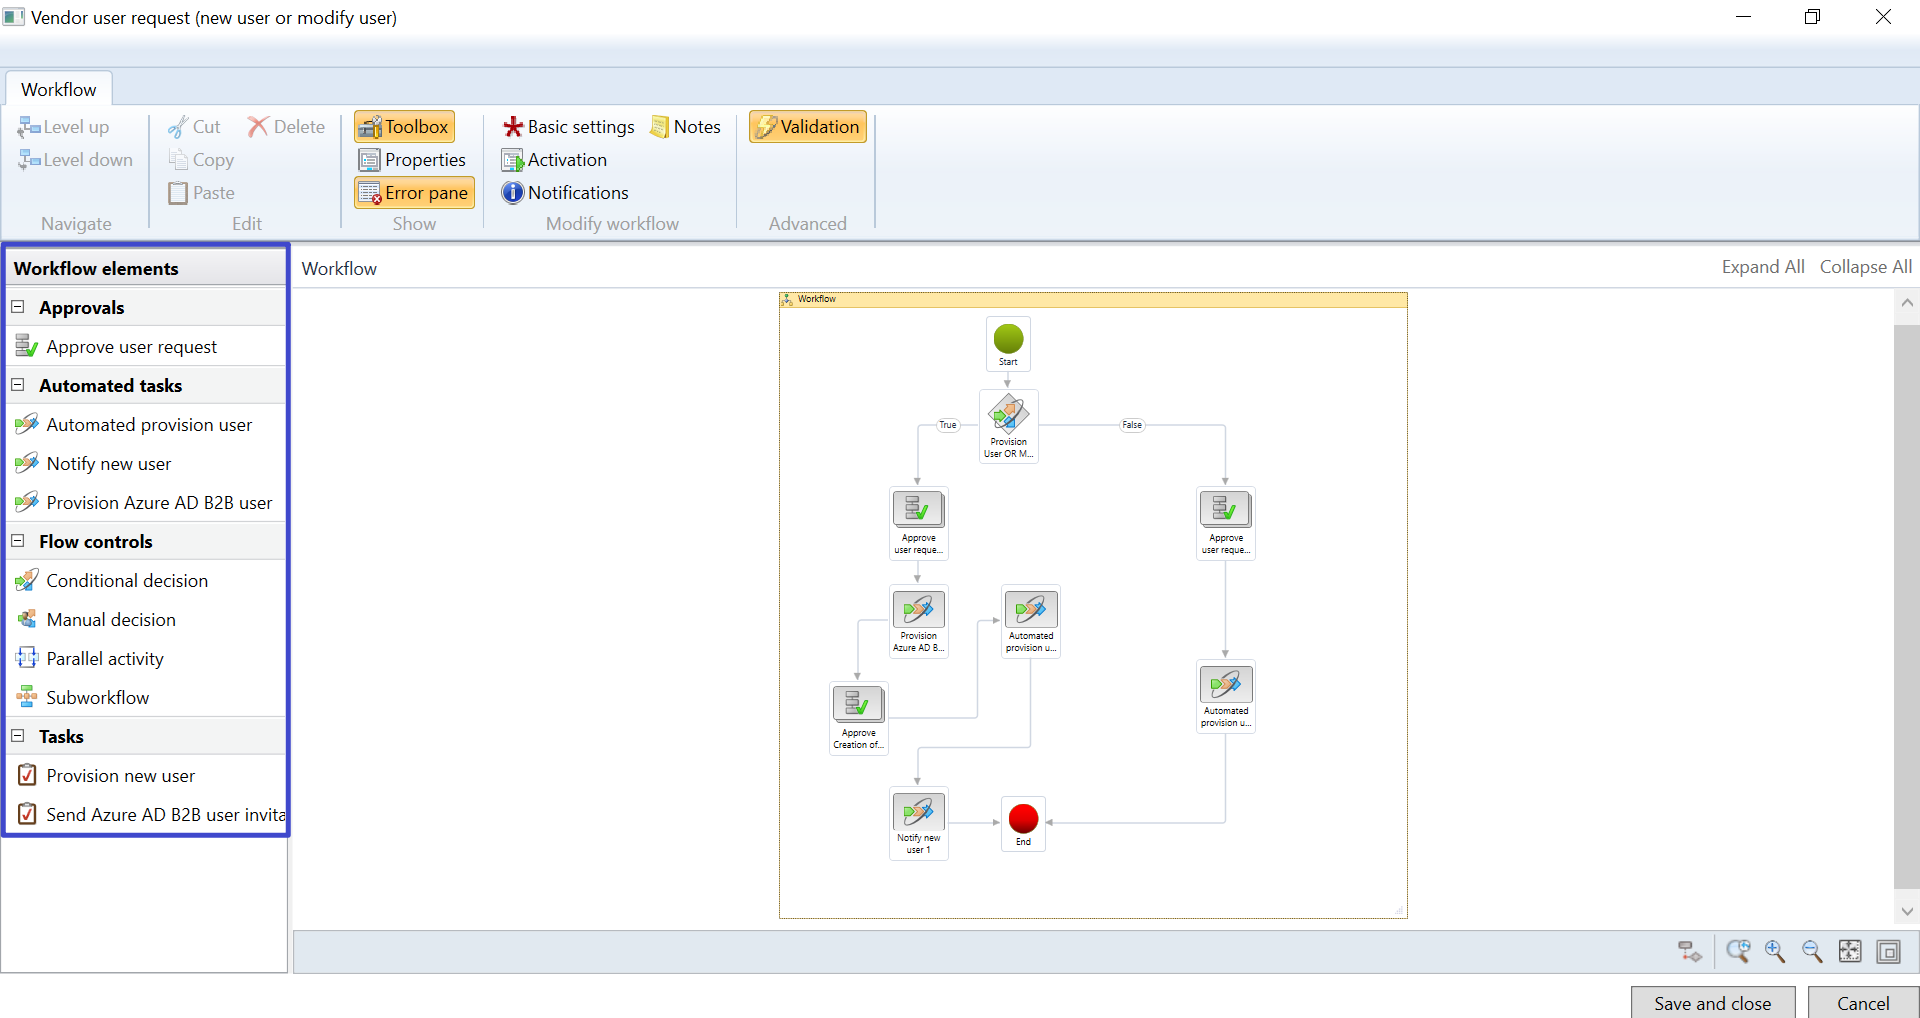
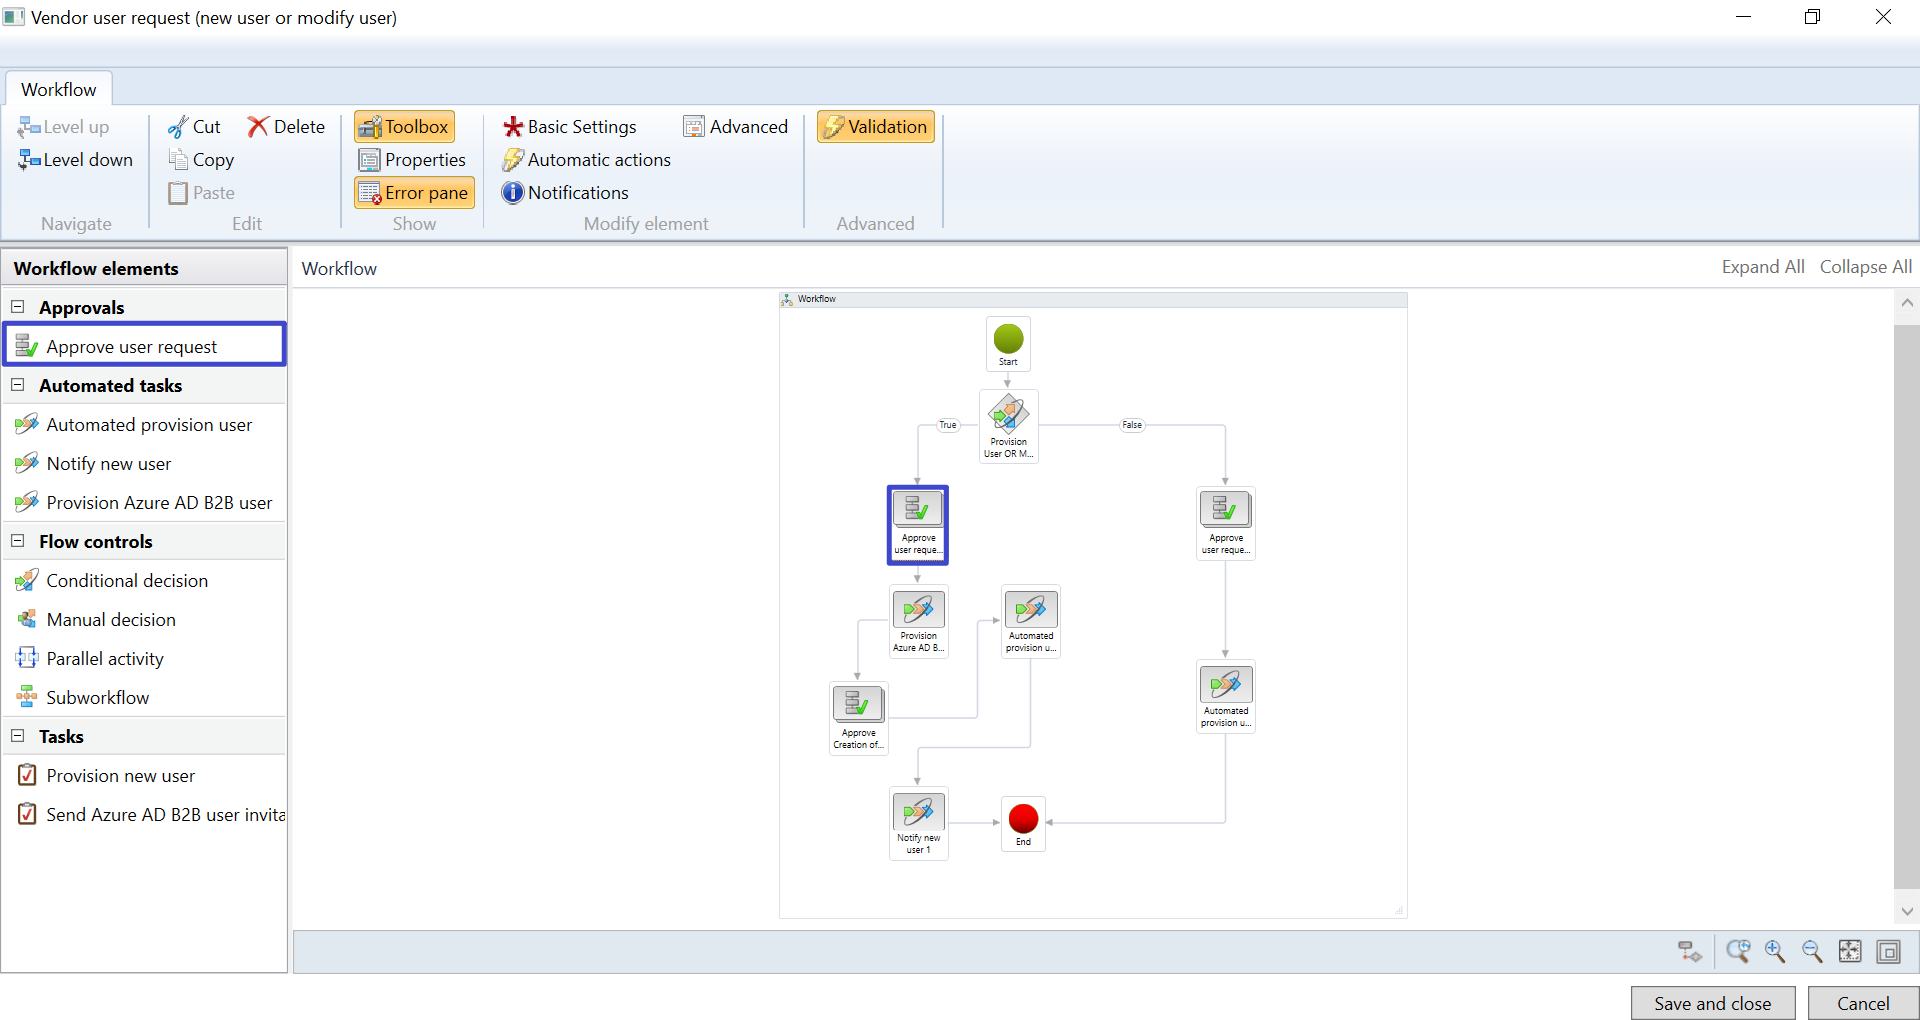
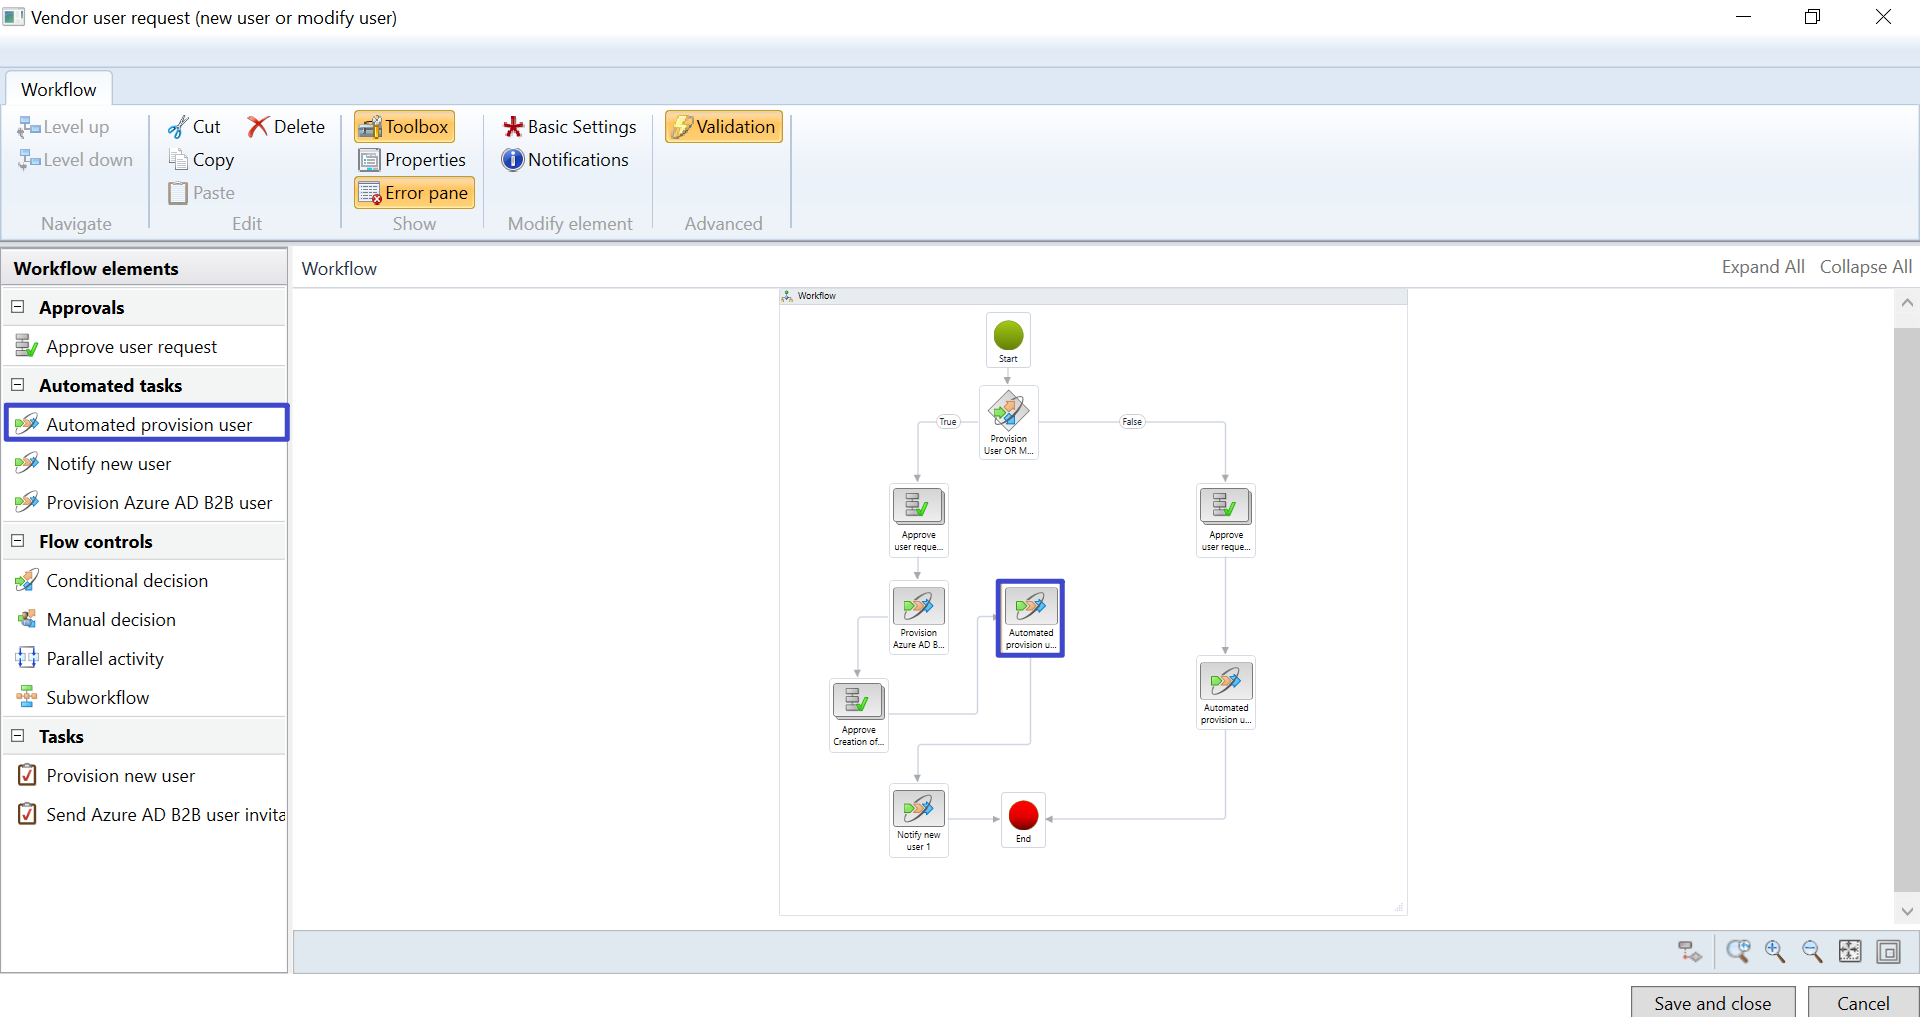
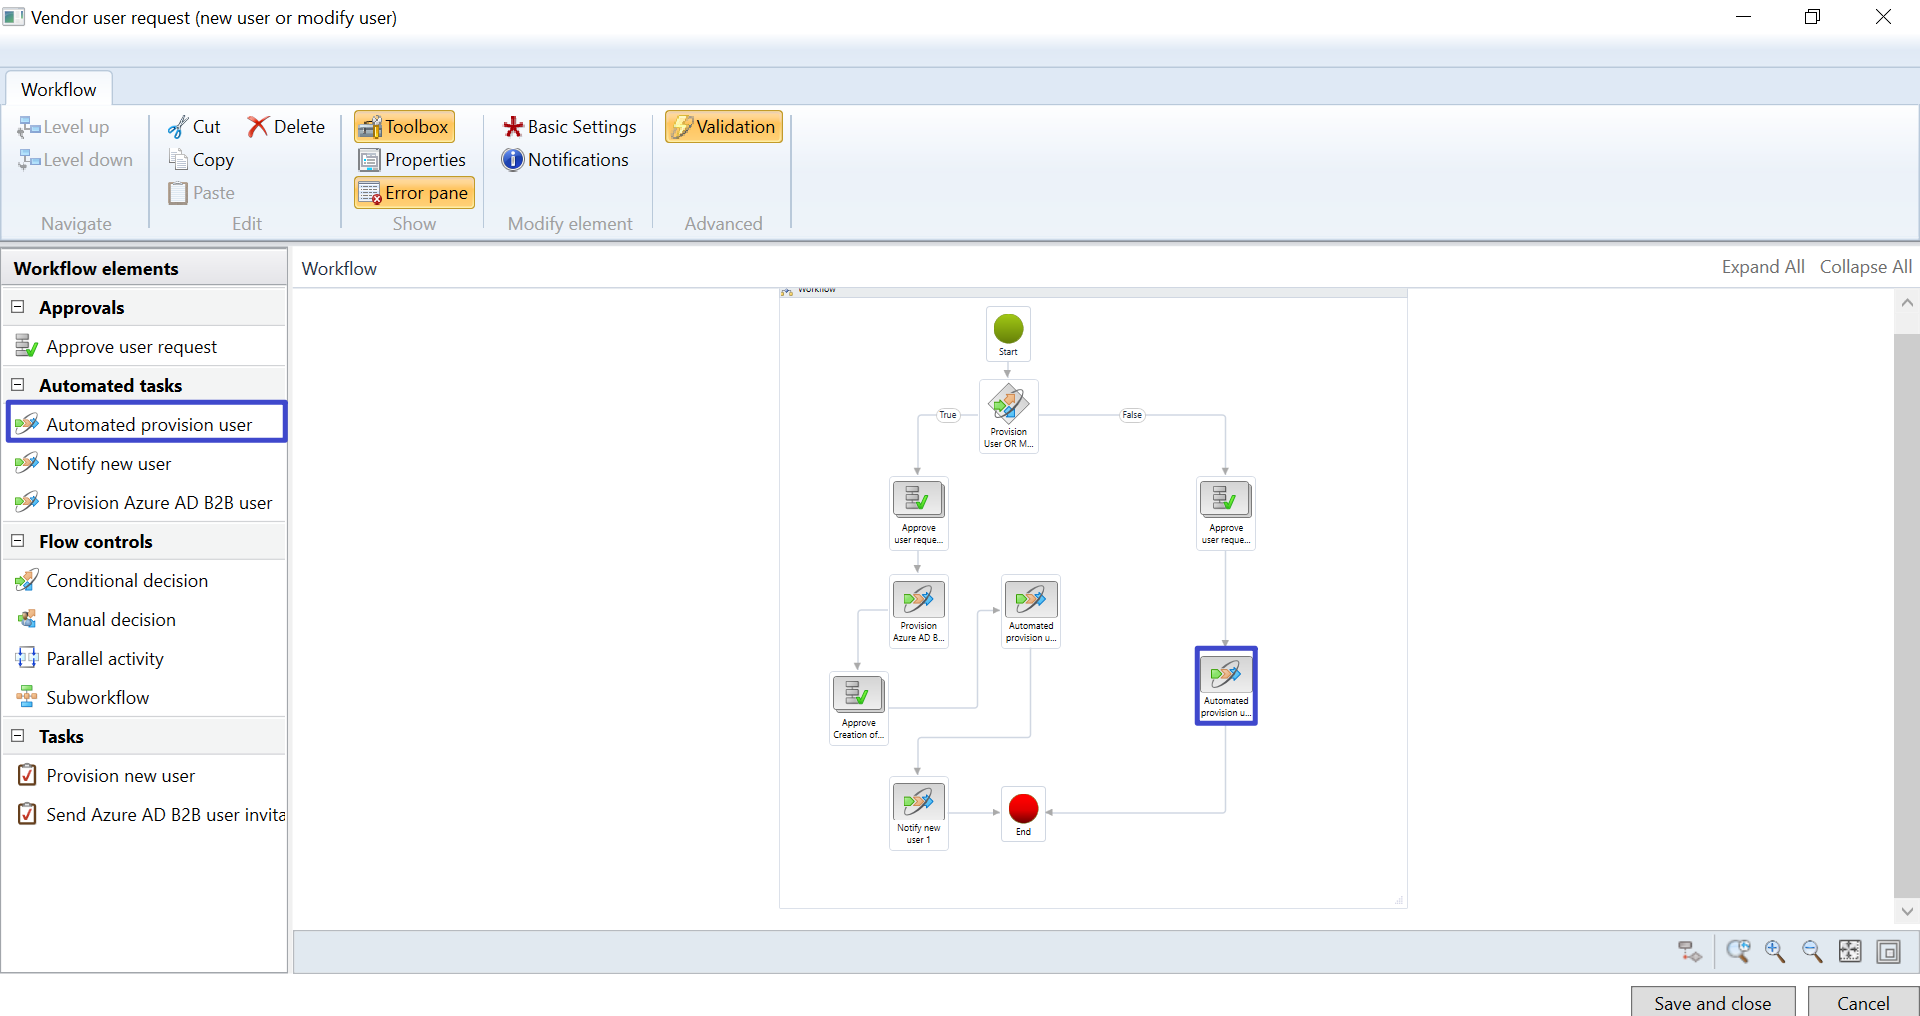
Design Vendor User Workflow
Create new workflow with the Vendor user request (new user or modify user) type. The below is an example of the workflow that is configured.
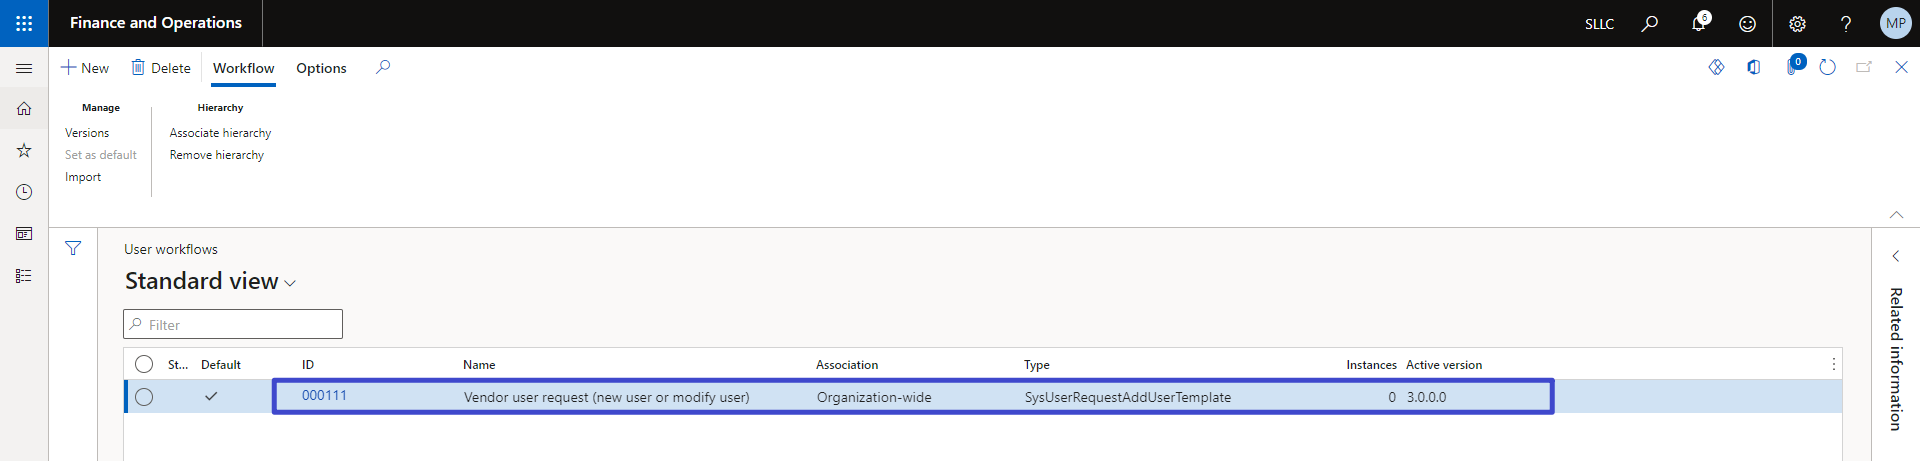
Navigation: System Administration → Workflow → User Workflow
1. Click, a new button
2. Select, vendor user request (new user or modify user)
3. Click, ID
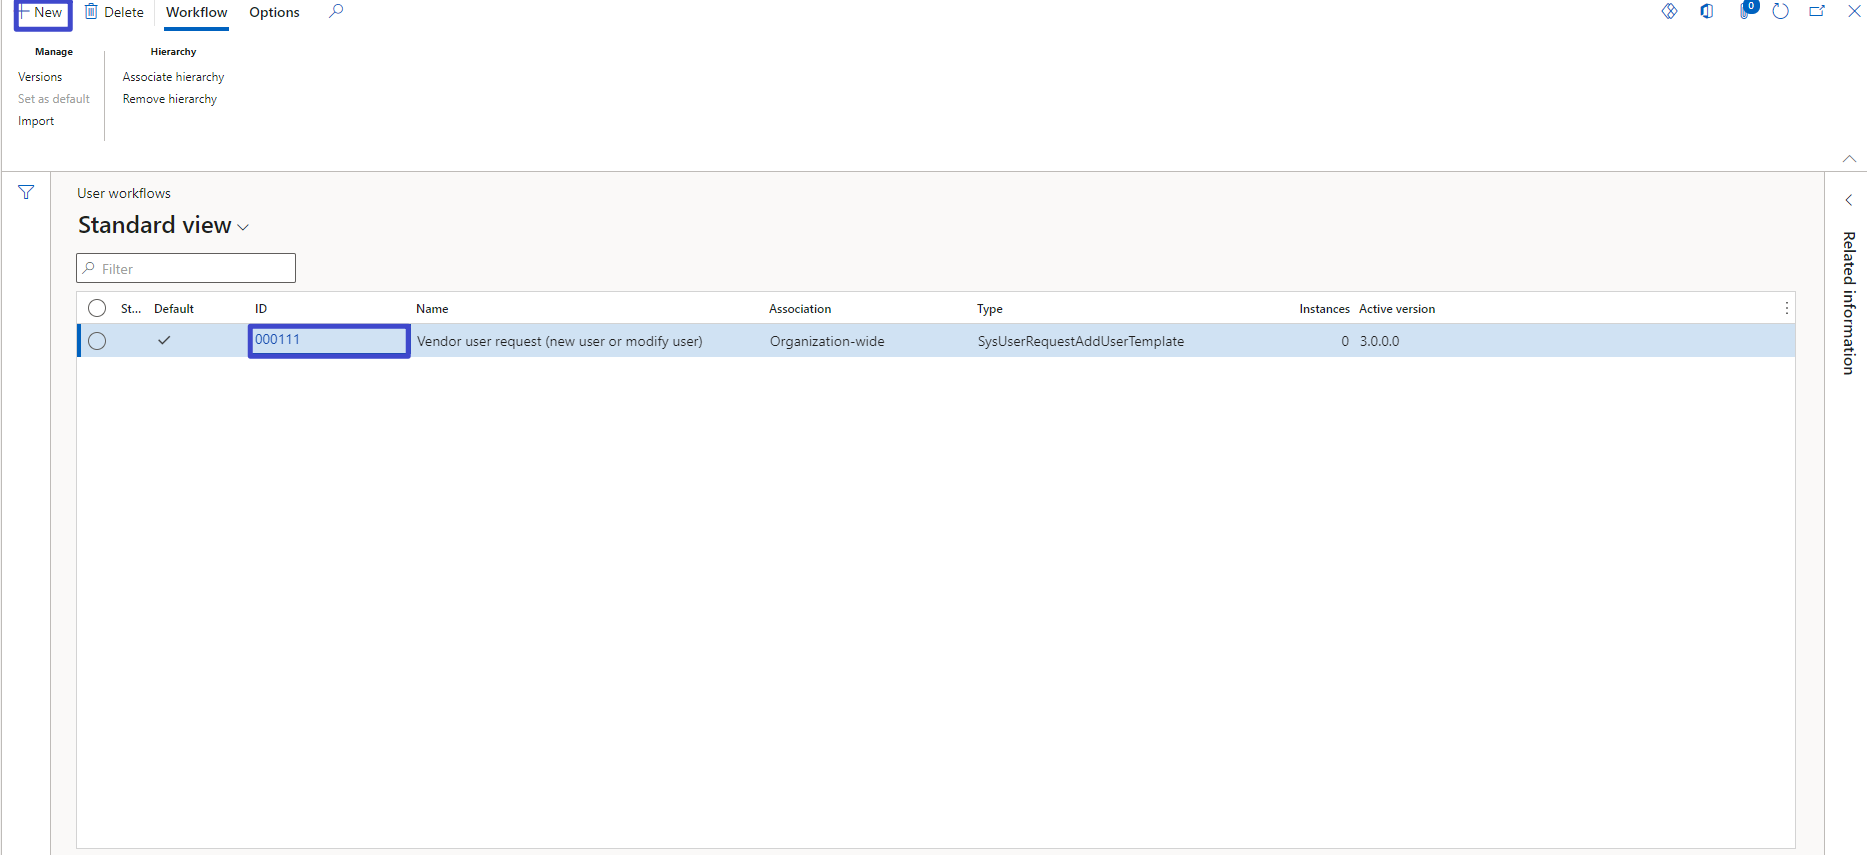
Click open.

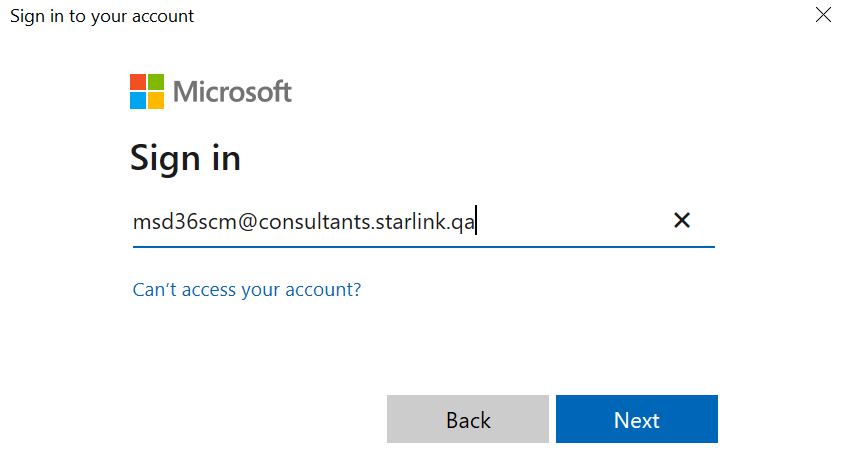
Enter Email ID
Click, next button
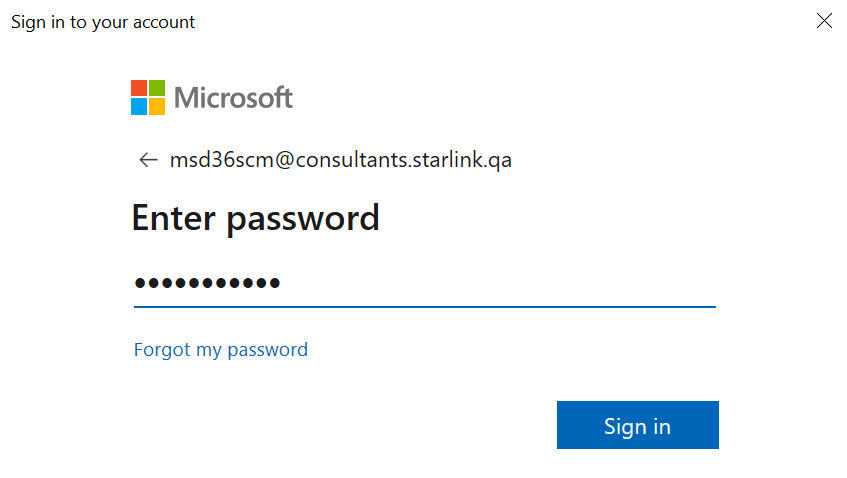
Enter, Password
Click, Sign in button
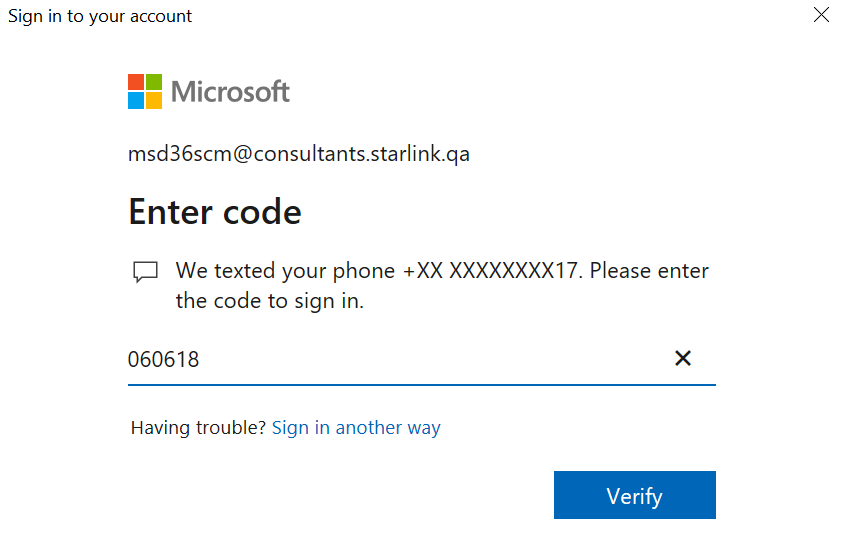
Click, text option
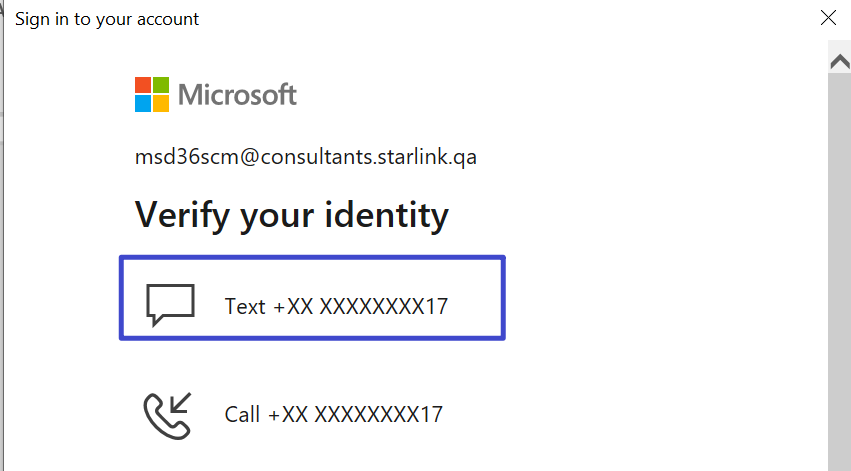
Code will be received on your mobile number
Enter code
Click verify
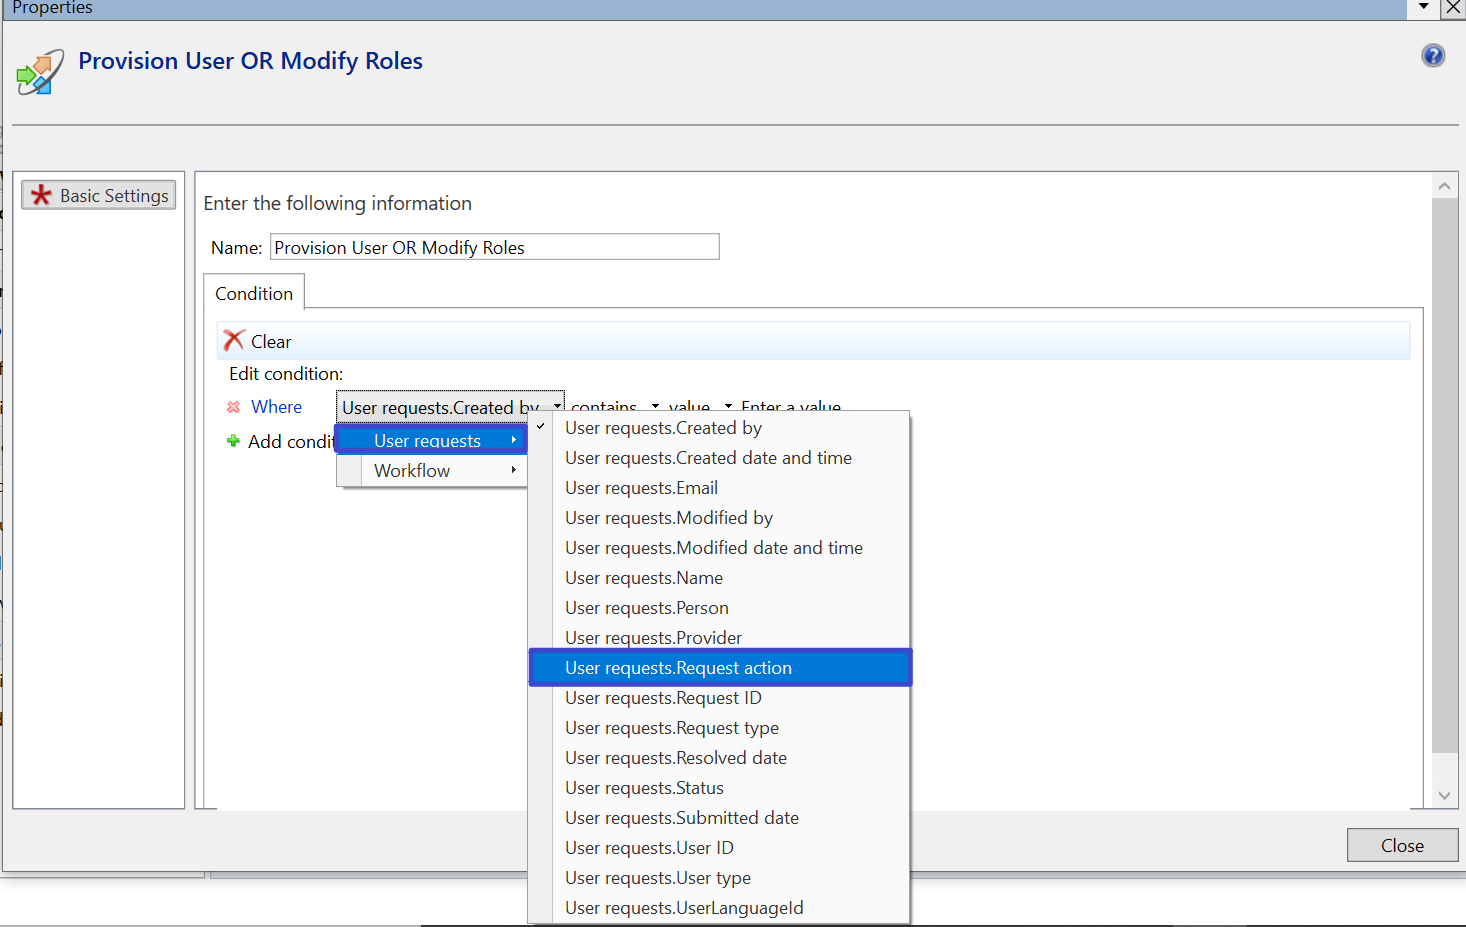
Provision User OR Modify Roles
Drag & Click, Provision User OR Modify Roles
Click, a basic setting
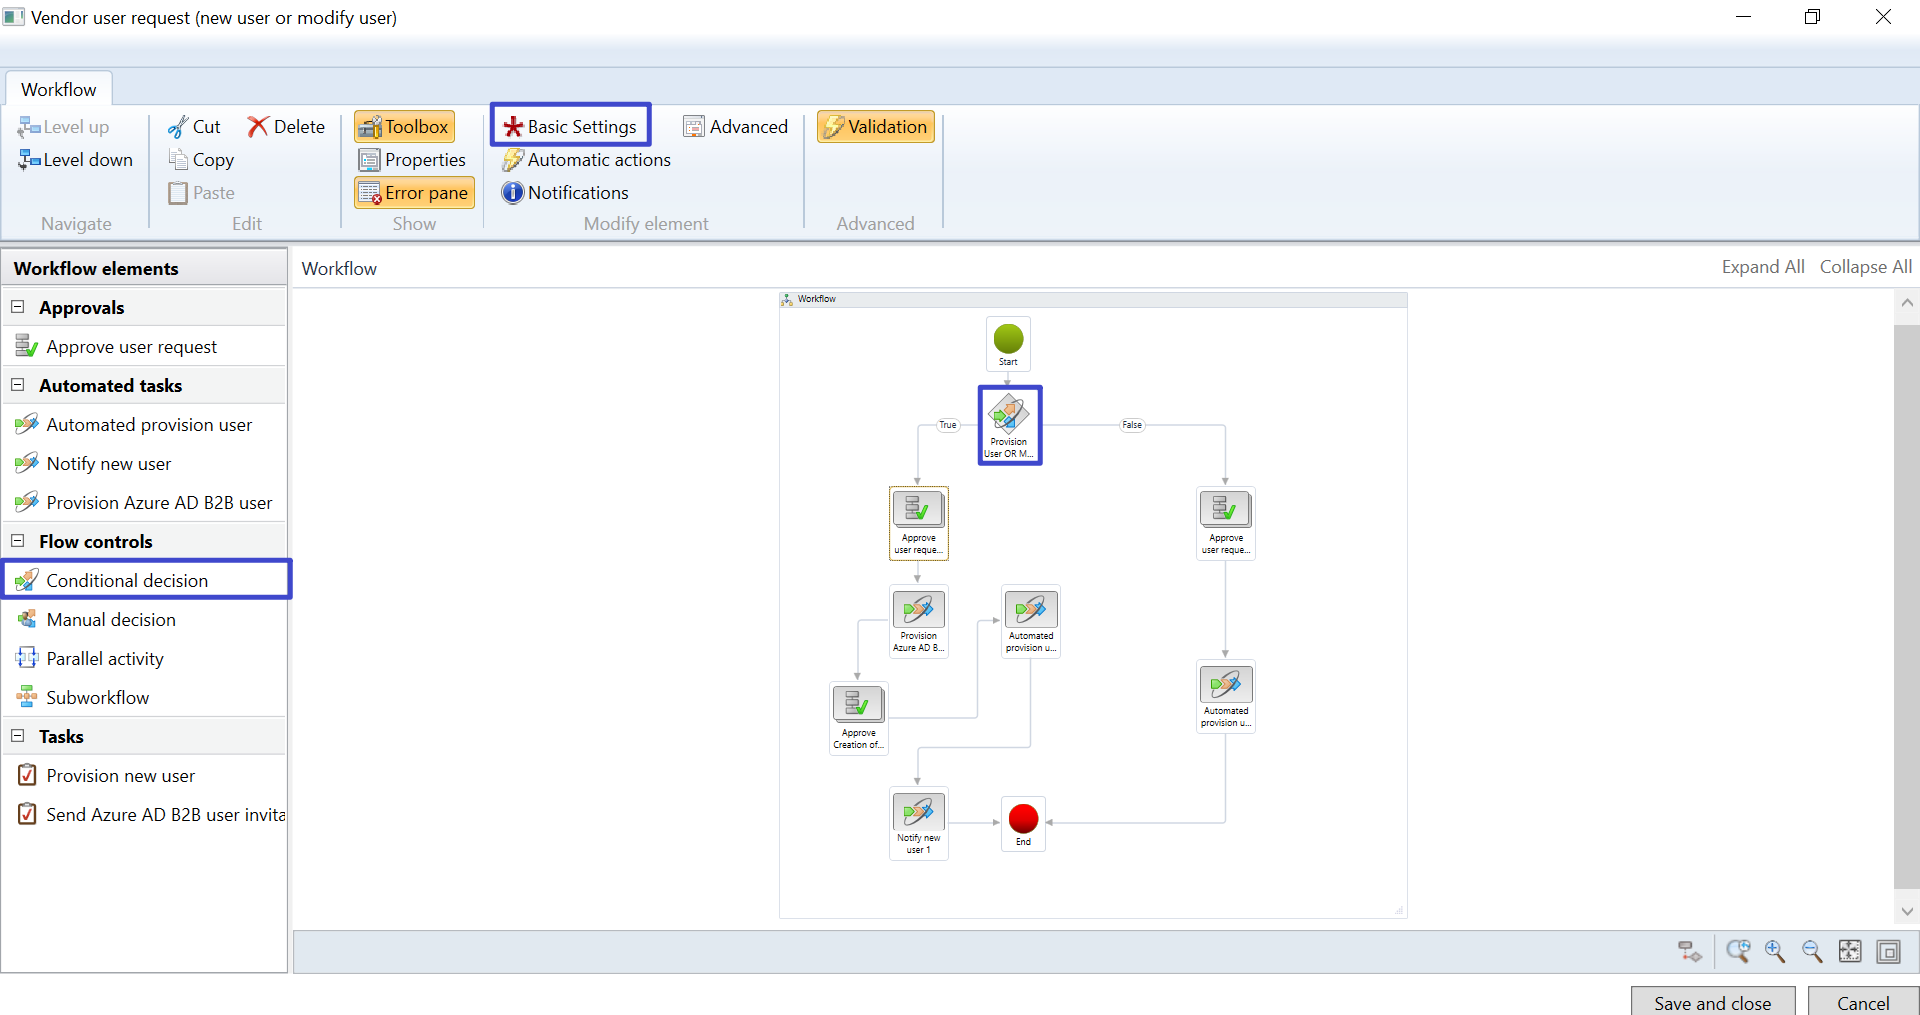
Enter name, Provision User OR Modify Roles
In condition, click, add condition, click, and
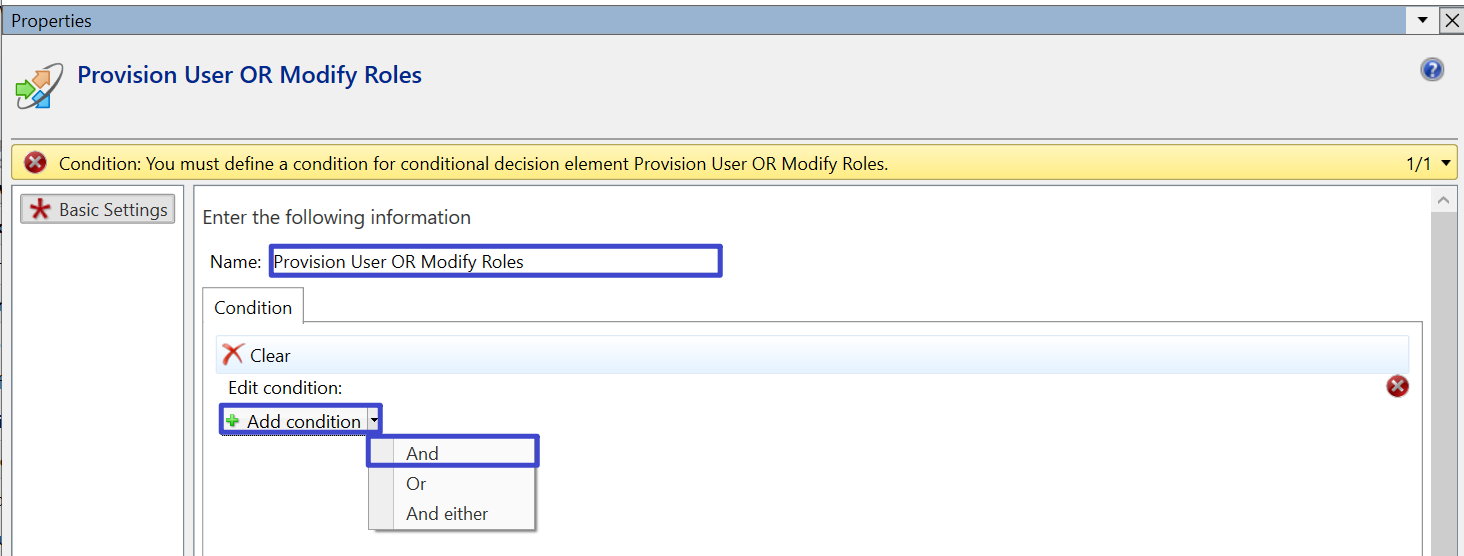
Click, user request
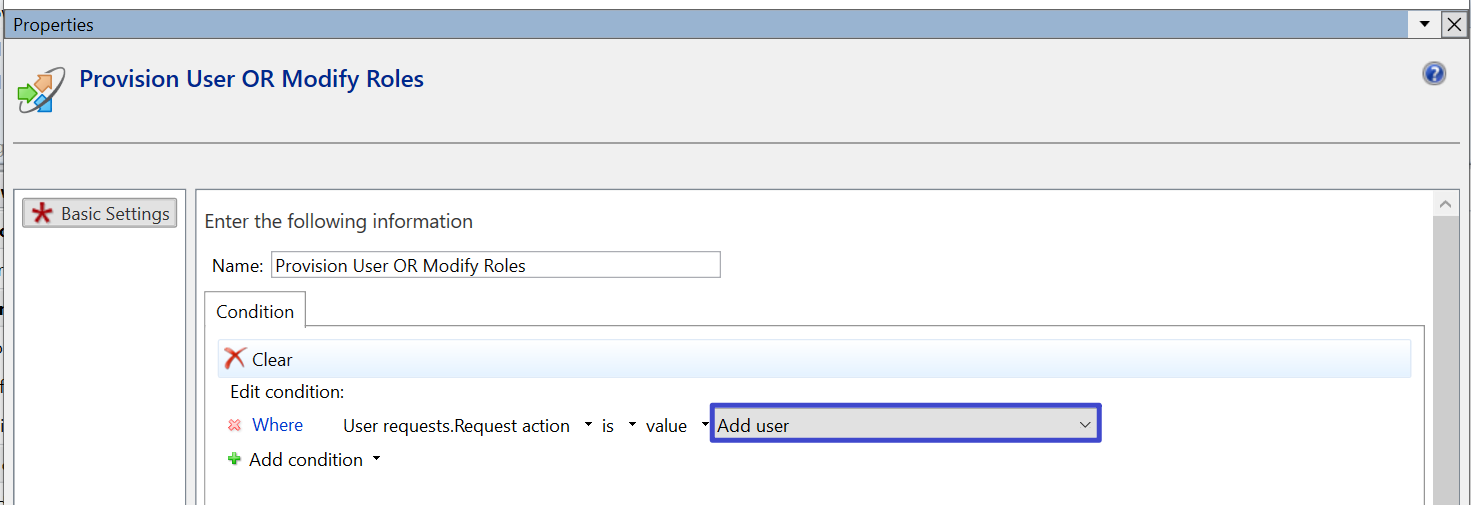
Select, user requests. Request action
Select, Add user
Click, close button
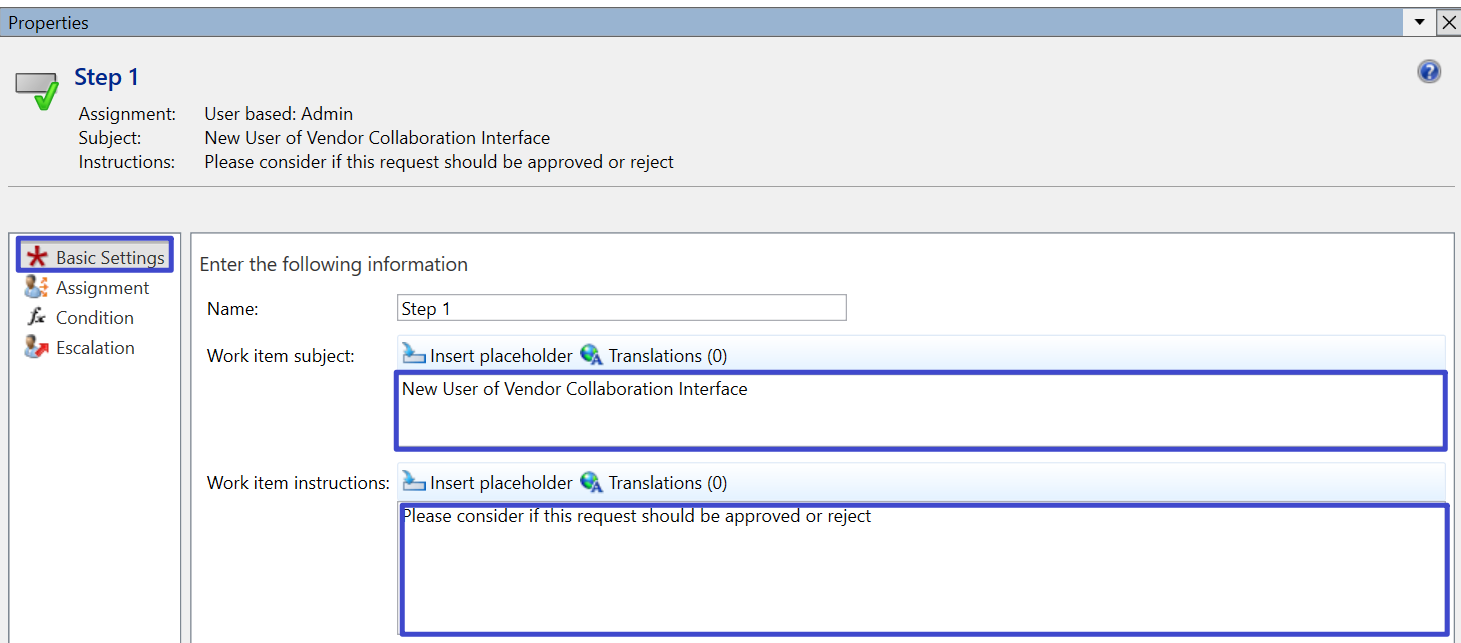
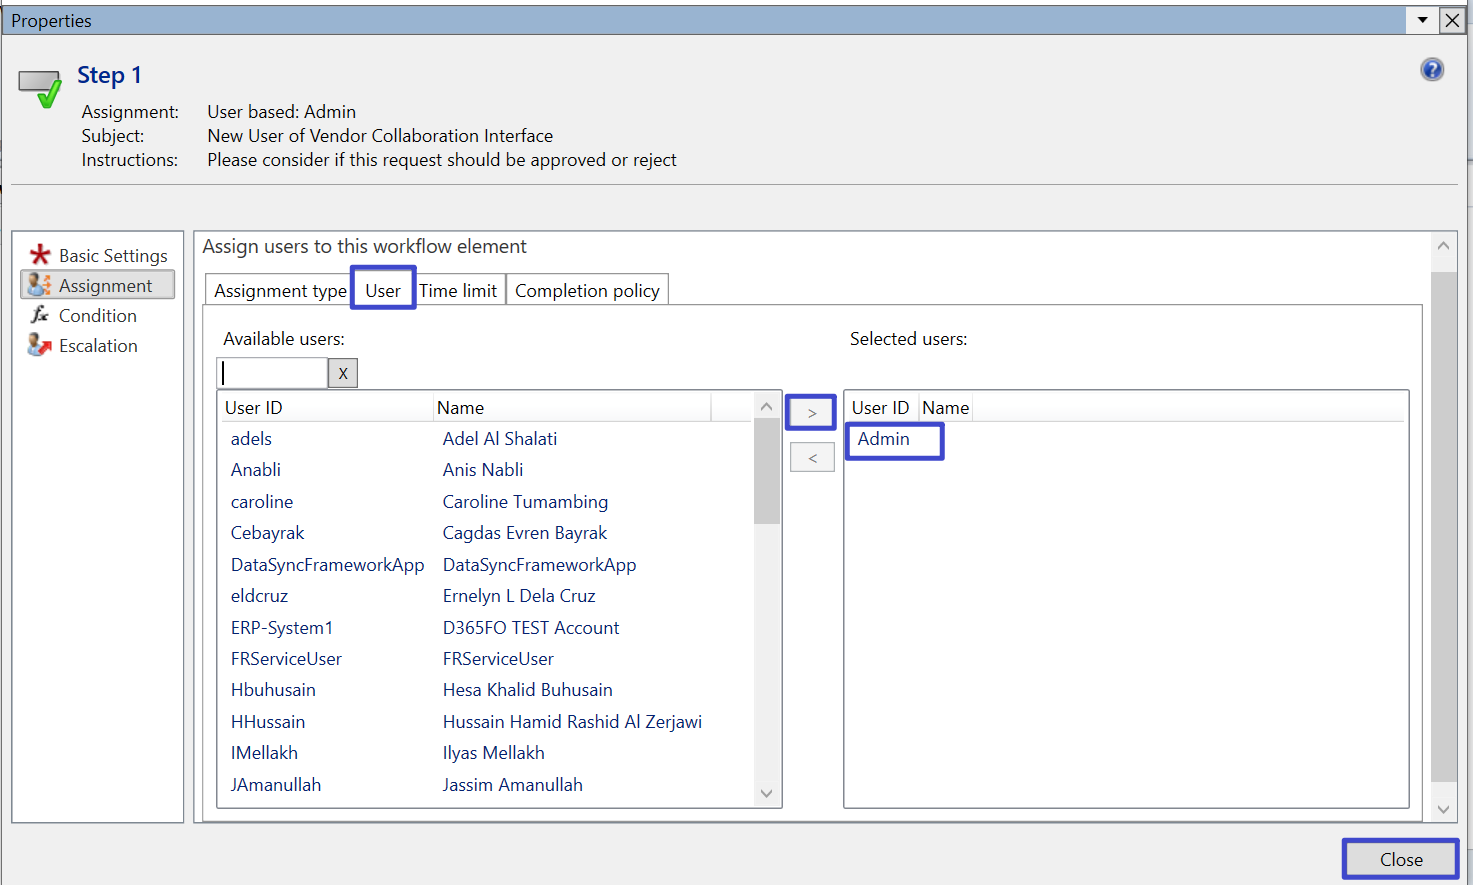
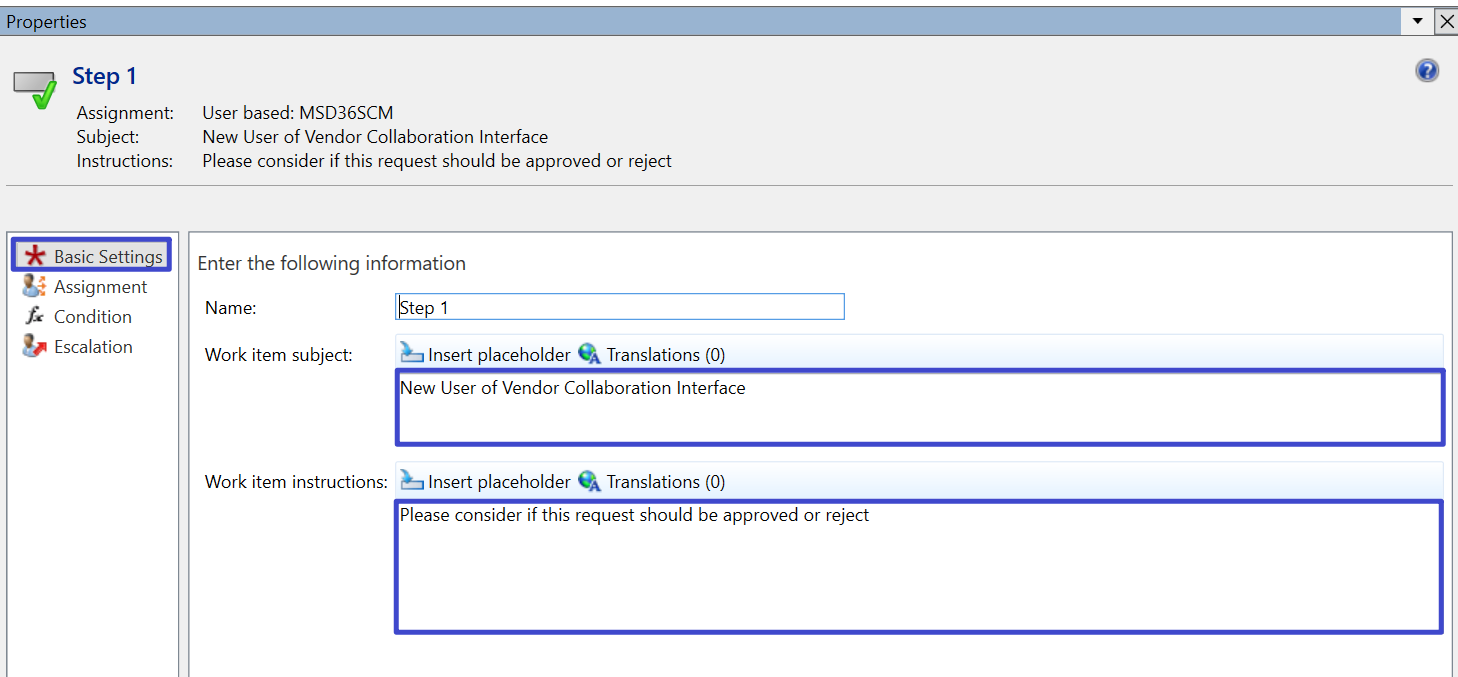
Approve User Request 1
Drag & click, approve user request 1
Click, an inner box step 1

Click, basic setting
Work item subject, New User of Vendor Collaboration Interface
Work item instruction, please consider if this request should be approved or reject
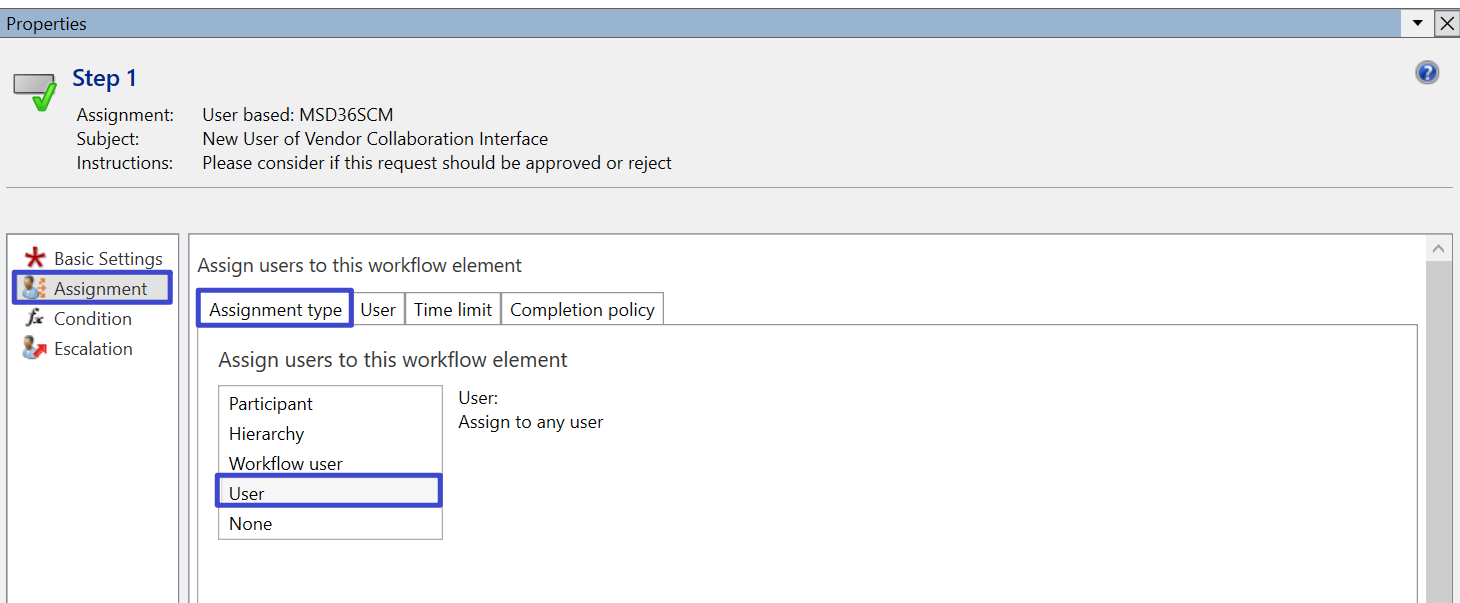
Click, assignment
Click, assignment type
Click, user

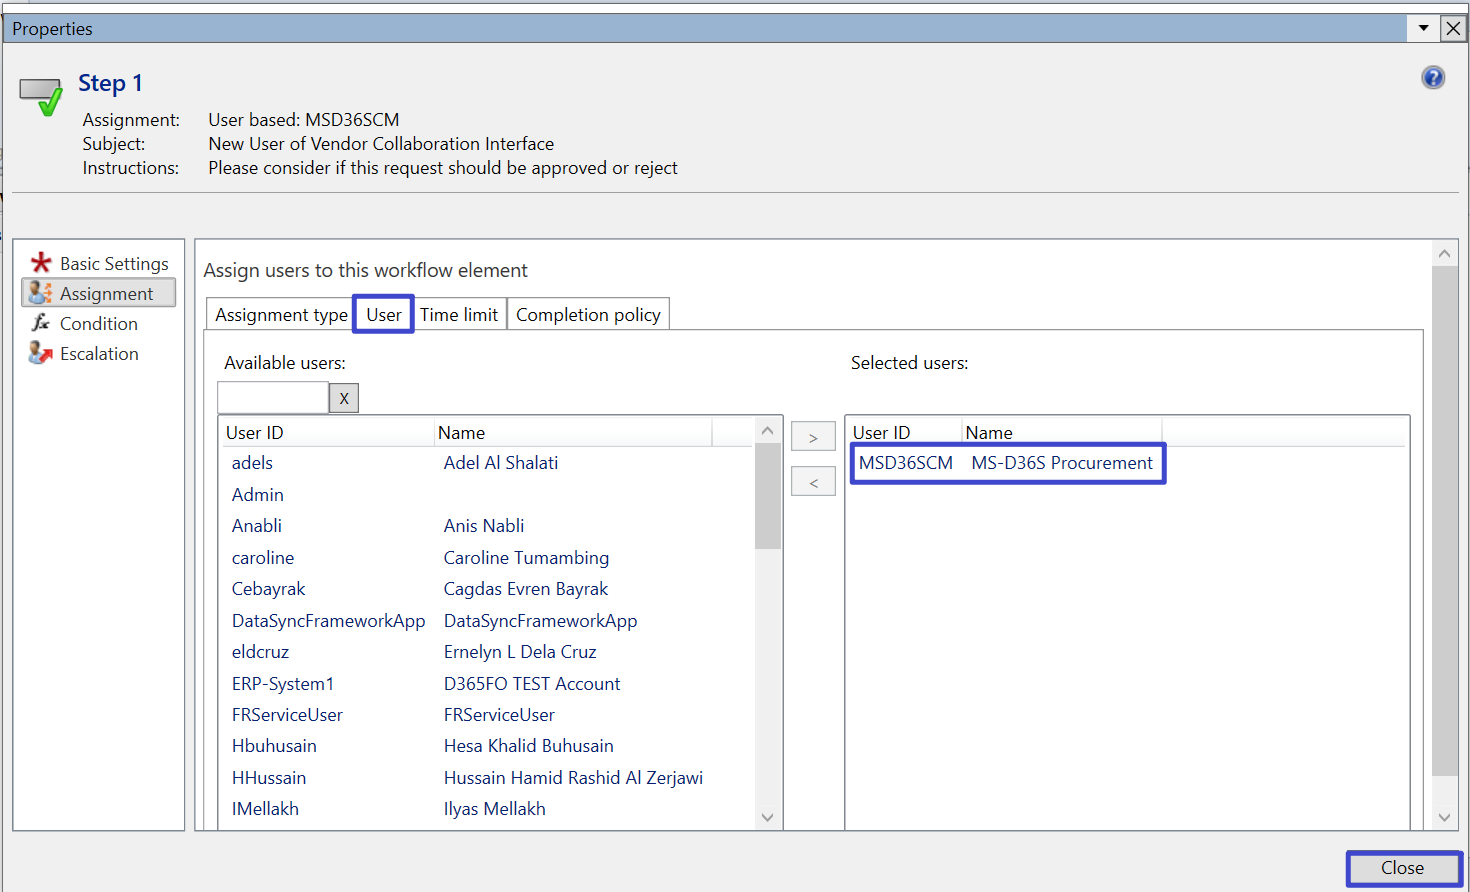
Click, user
Drag & Select admin
Click, close button
Provision Azure AD B2B user 1
Drag, provision azure AD B2B user 1
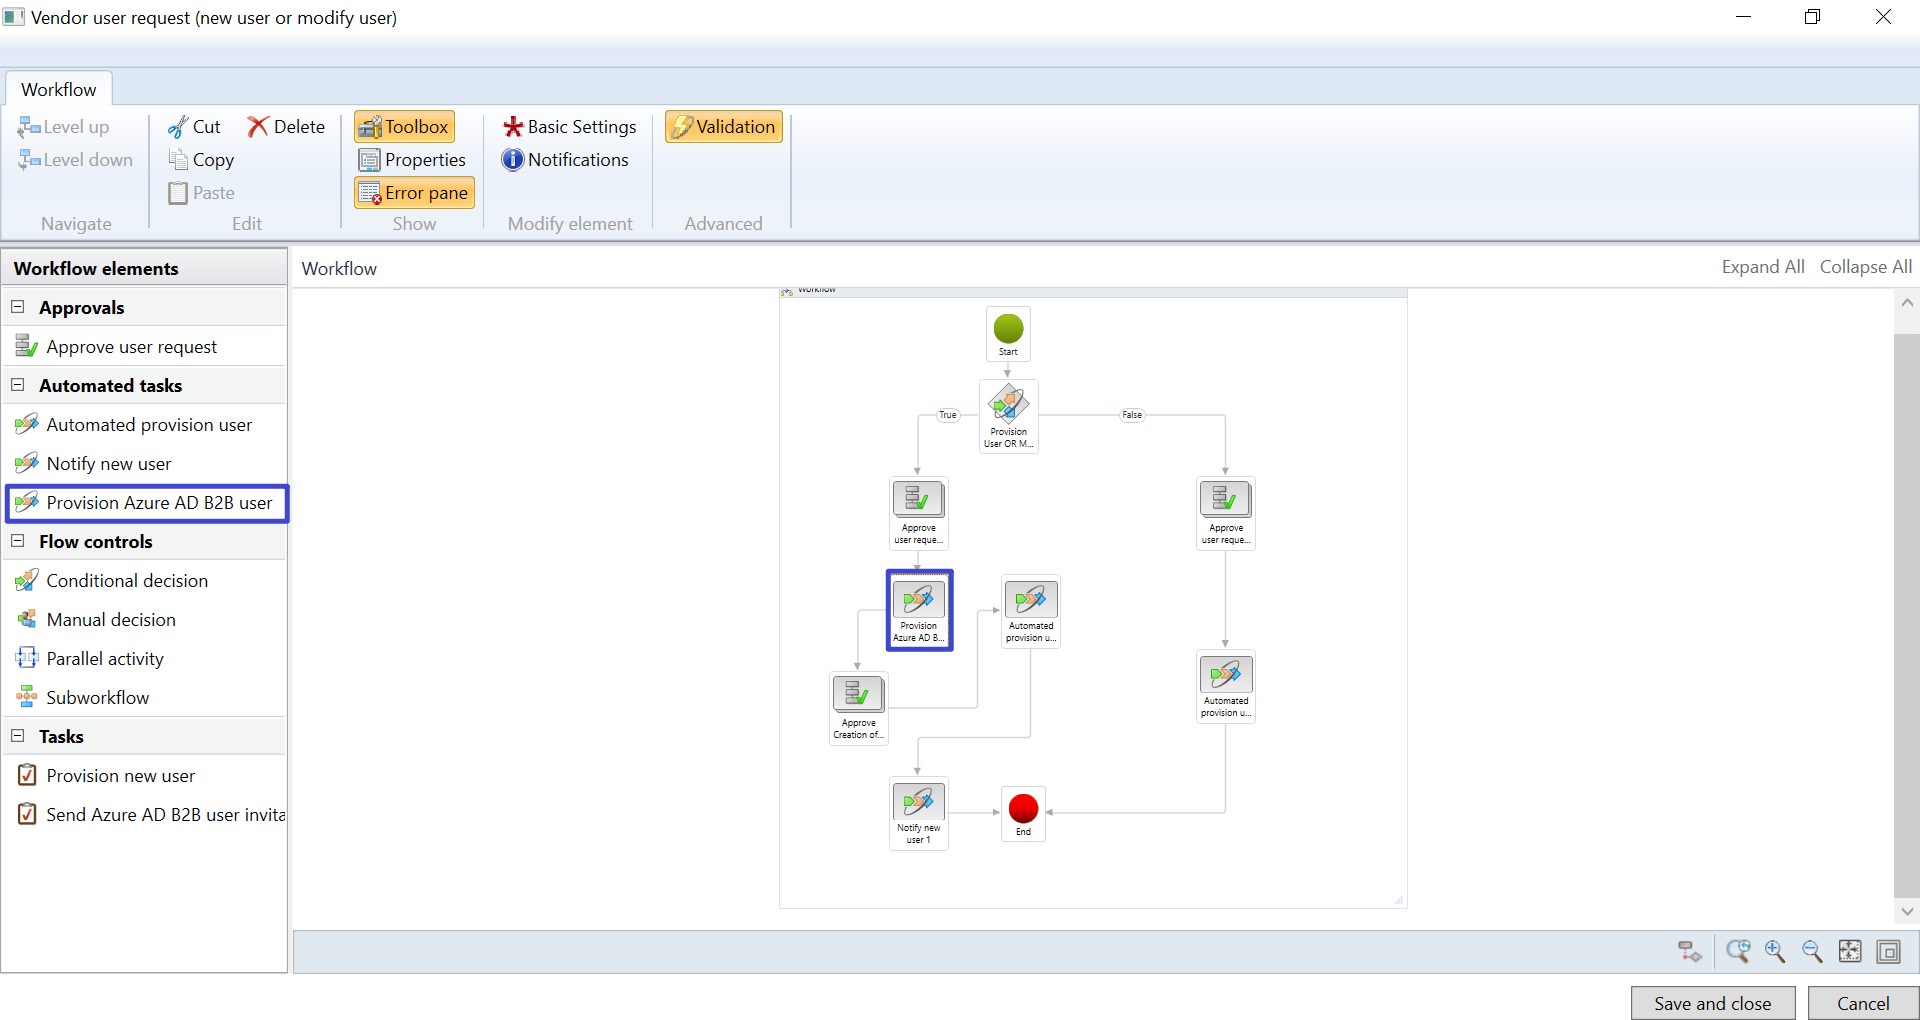
(*Important Note We have to configure B2B azure directory setting, infra team will do this activity)
Approve Creation for Vendor
Drag & click, approve creation for vendor
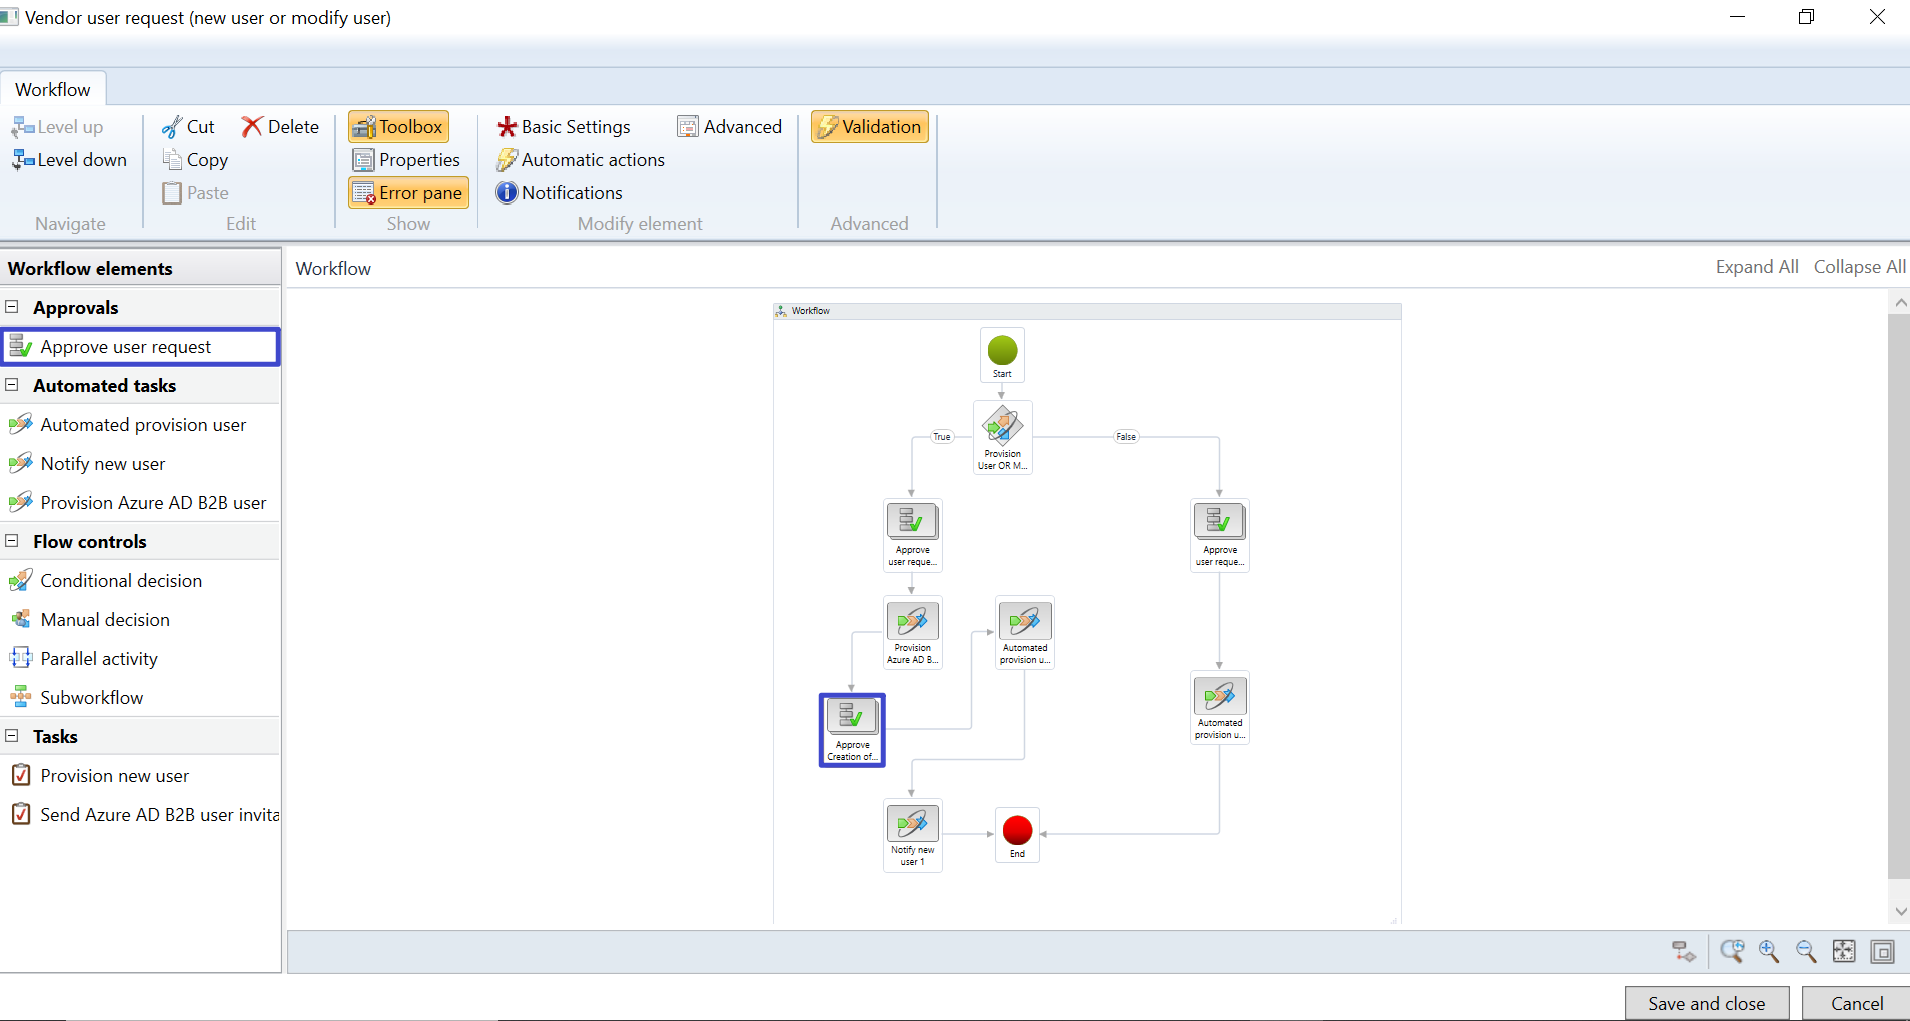
Click, an inner box step 1
Click, basic setting
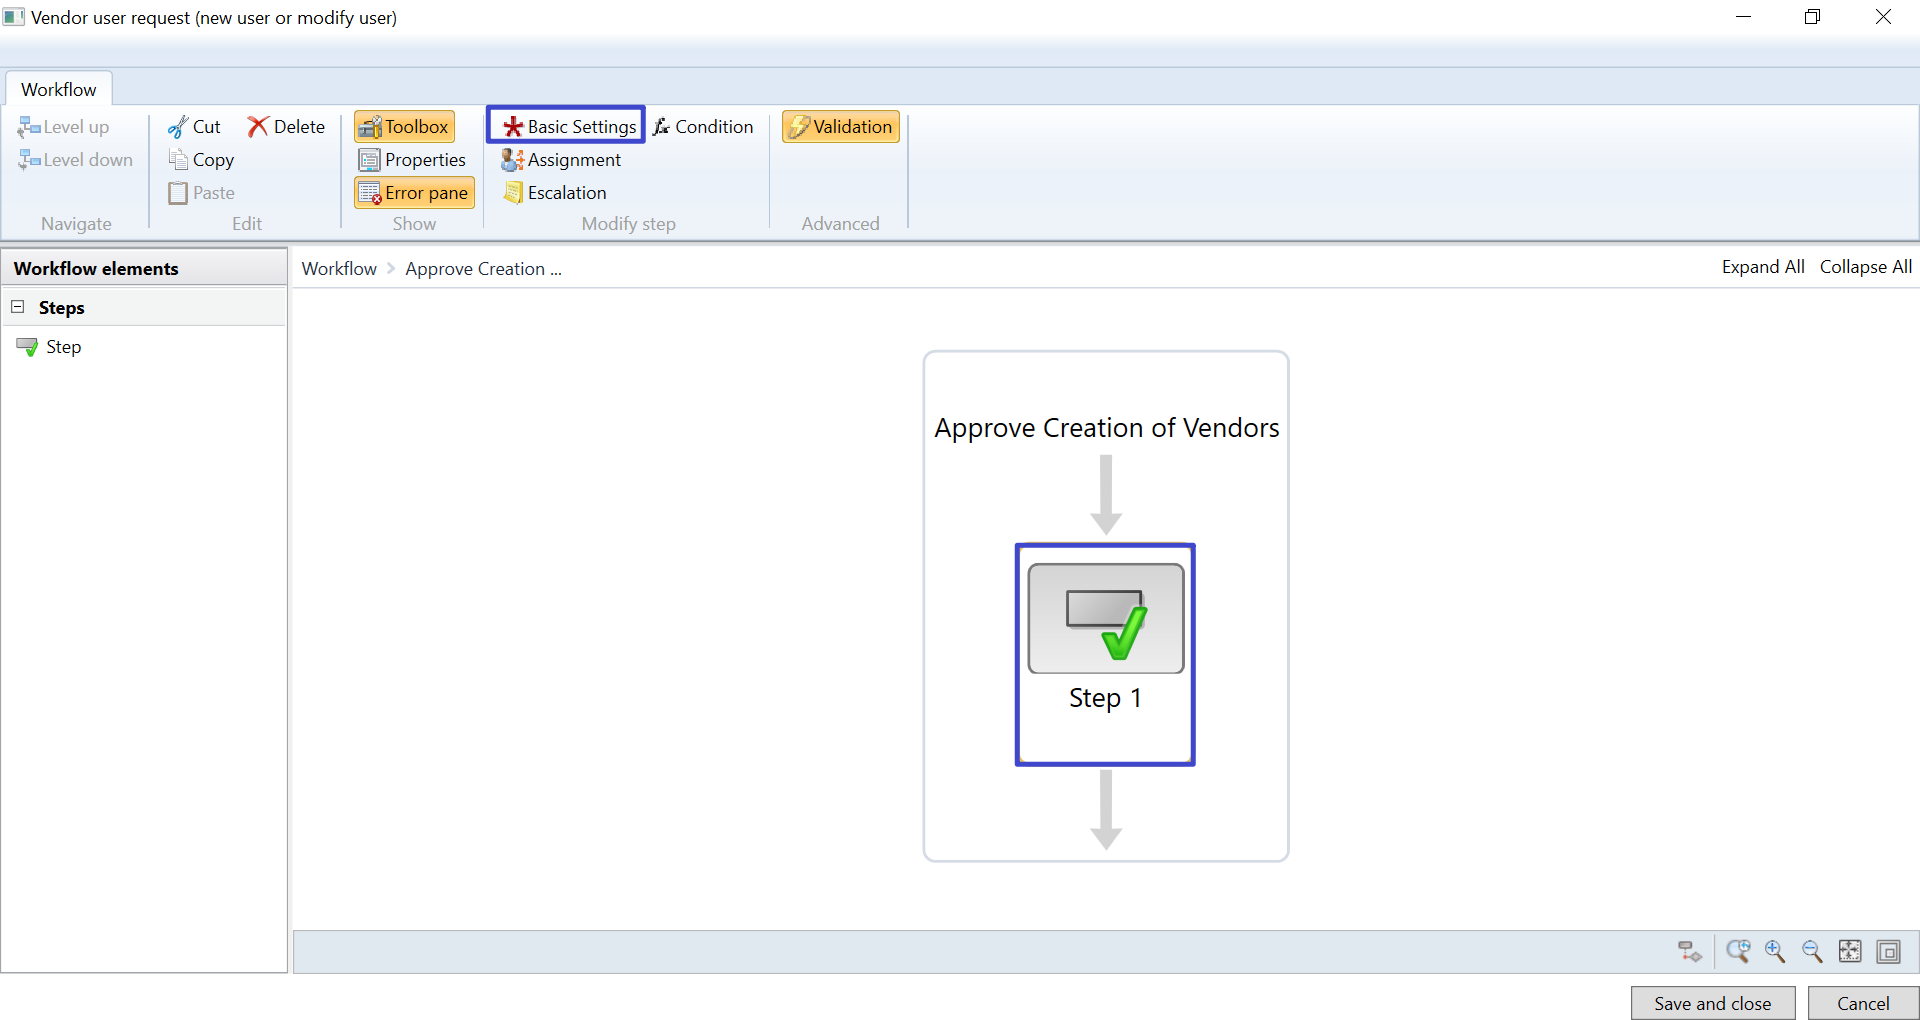
Click, basic setting
Work item subject, New User of Vendor Collaboration Interface
Work item instruction, please consider if this request should be approved or reject
Click, assignment
Click, assignment type
Click, user
Click, user
Drag & Select admin
Click, close button
Automated Provision User 1
Drag, automated provision user
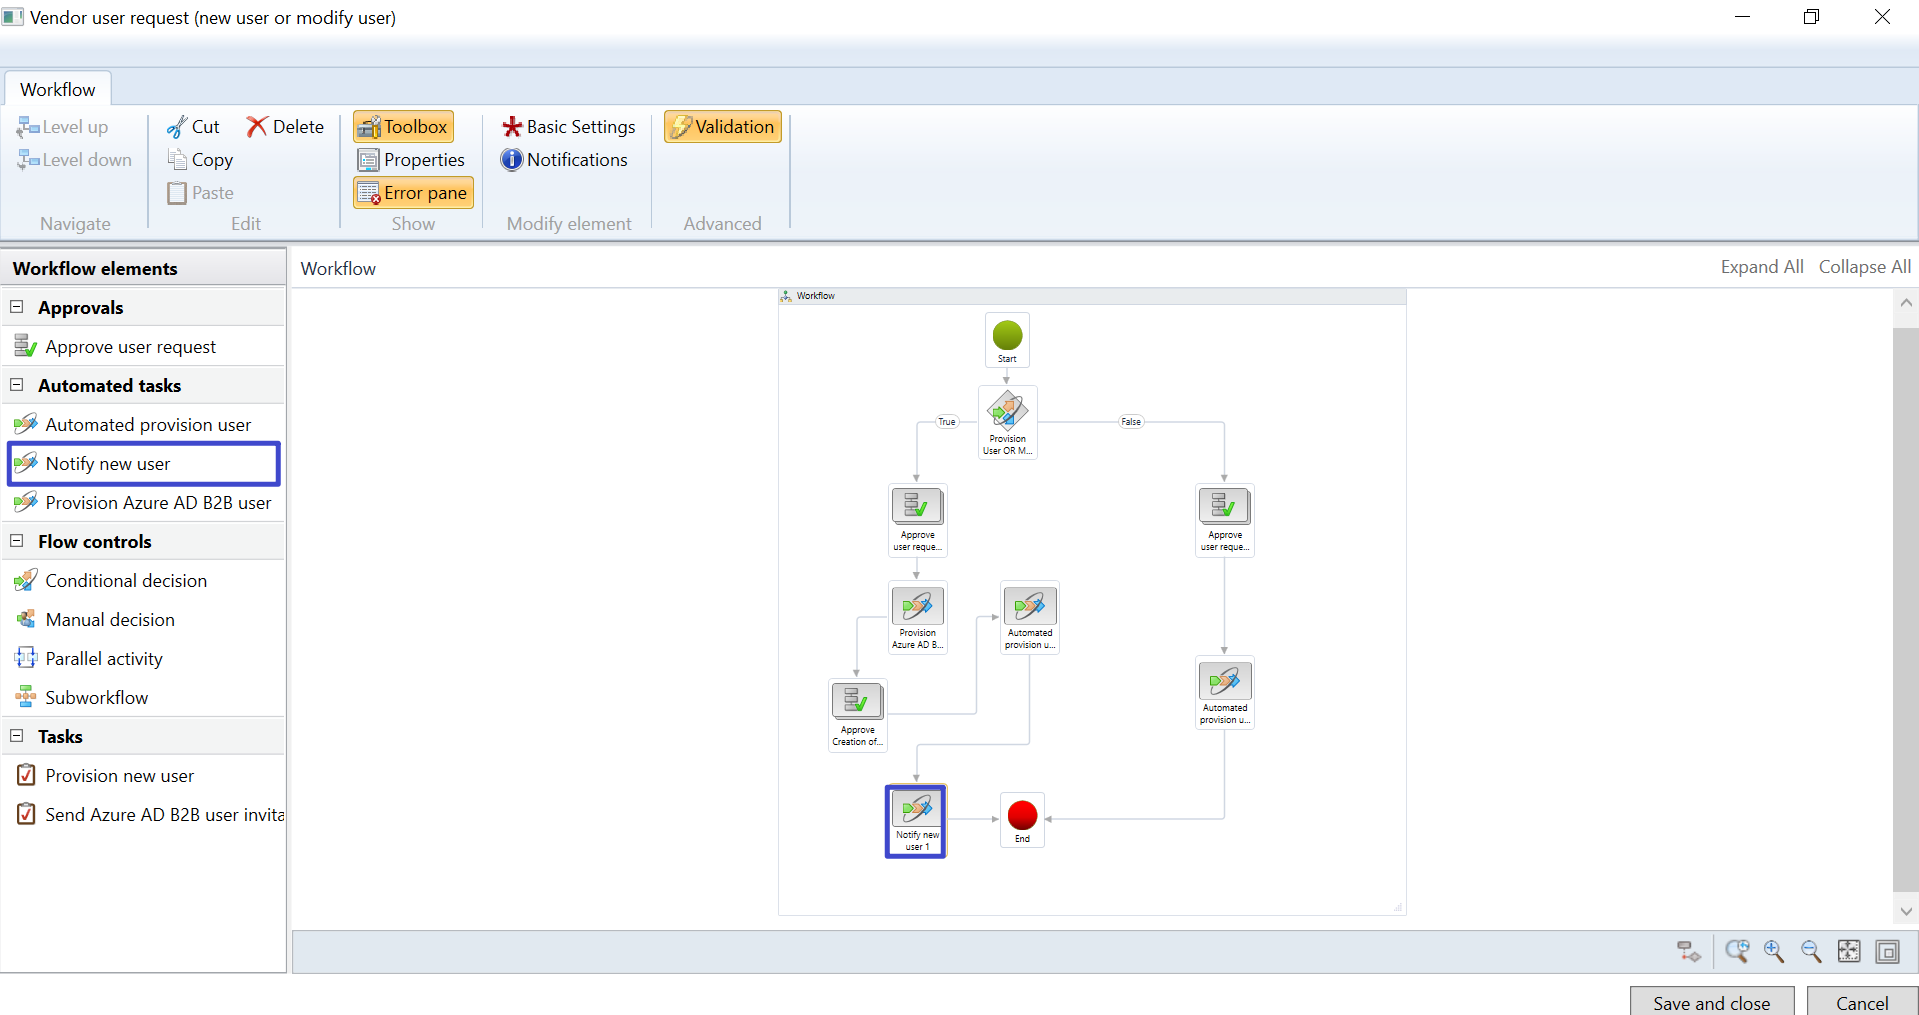
Notify New User 1
Drag, notify new user 1
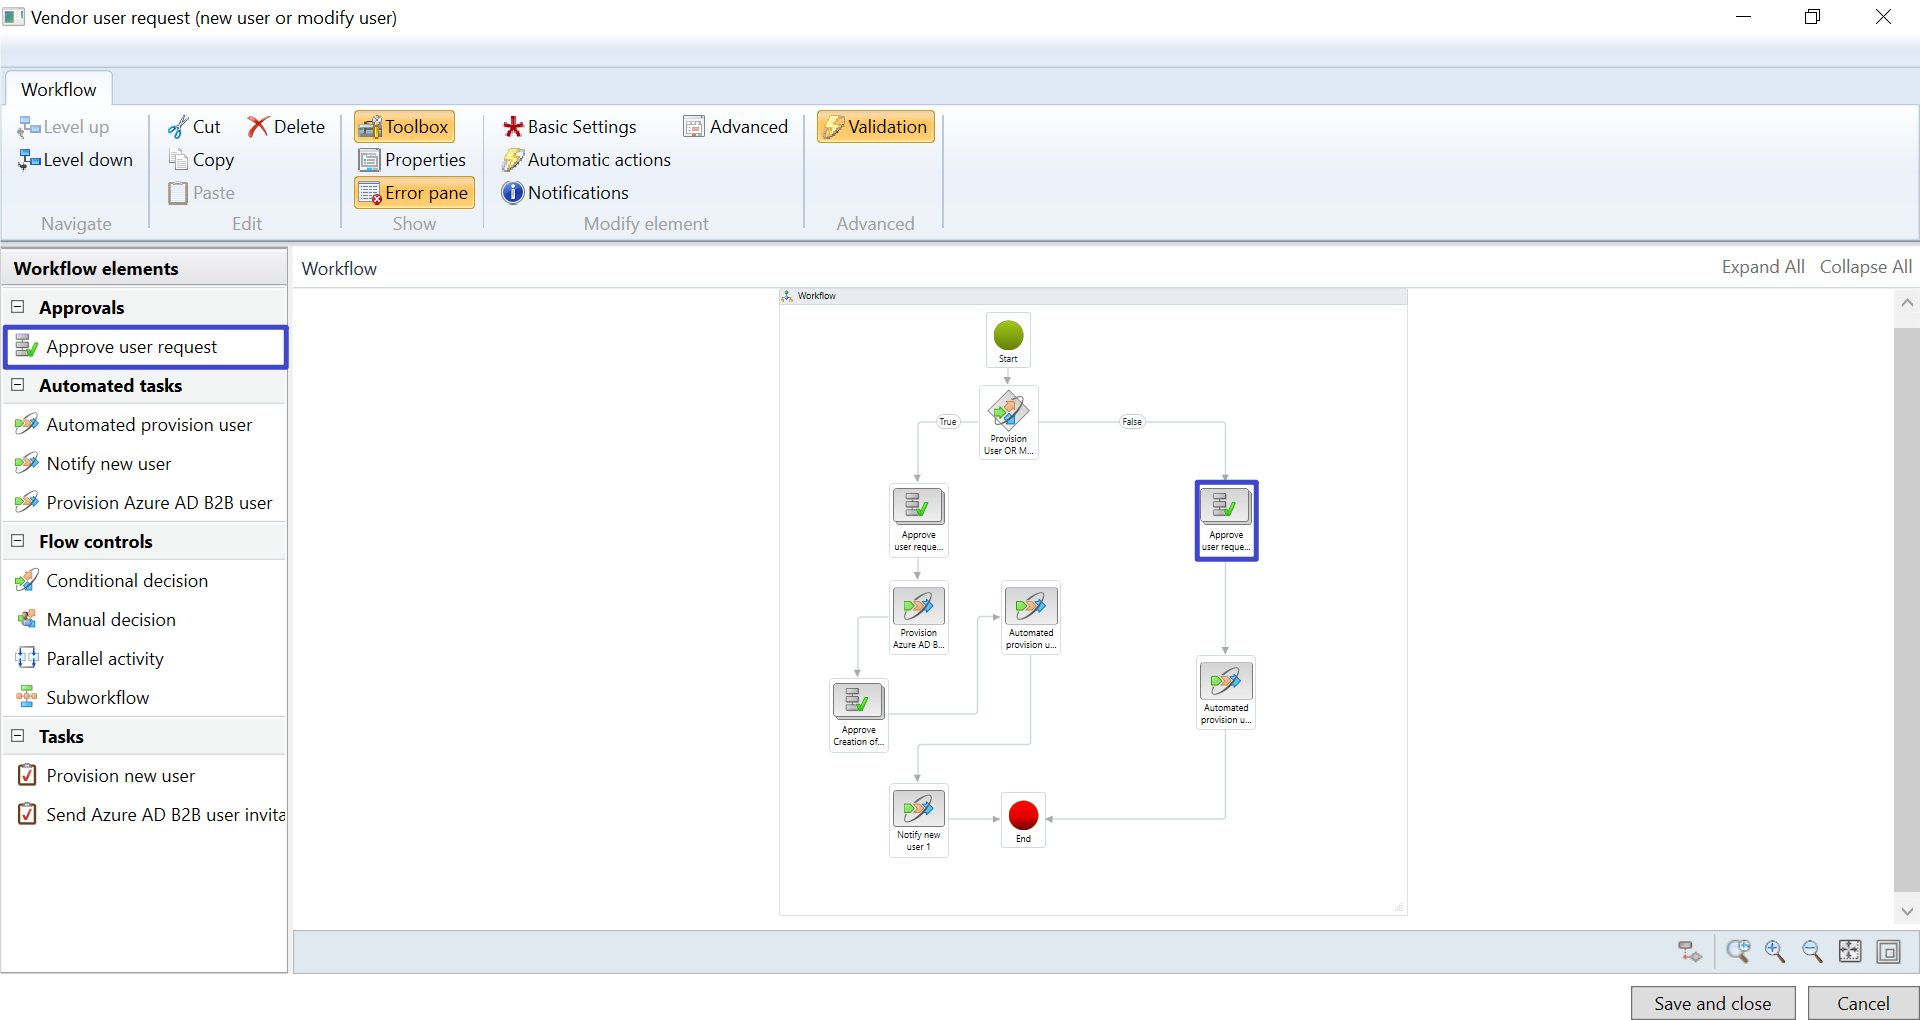
Approve User Request 2
Drag & click, approve user request 2
Click, an inner box step 1
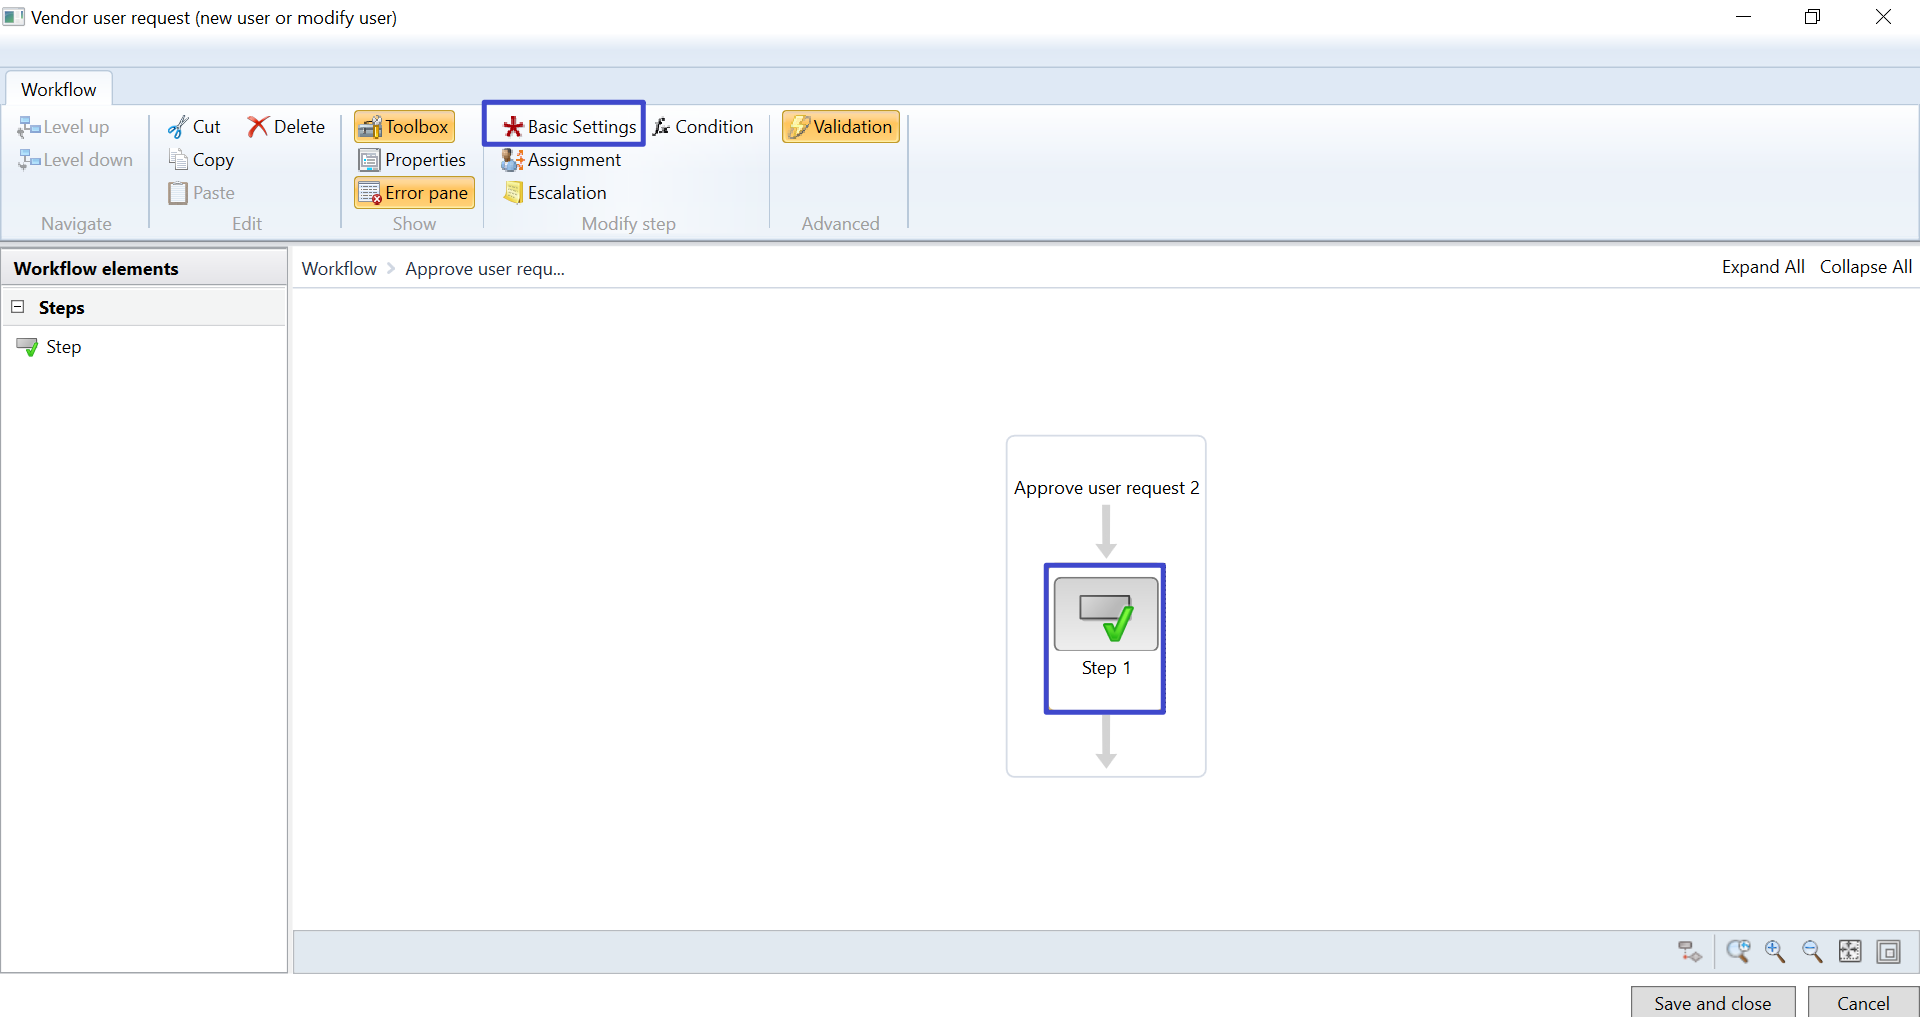
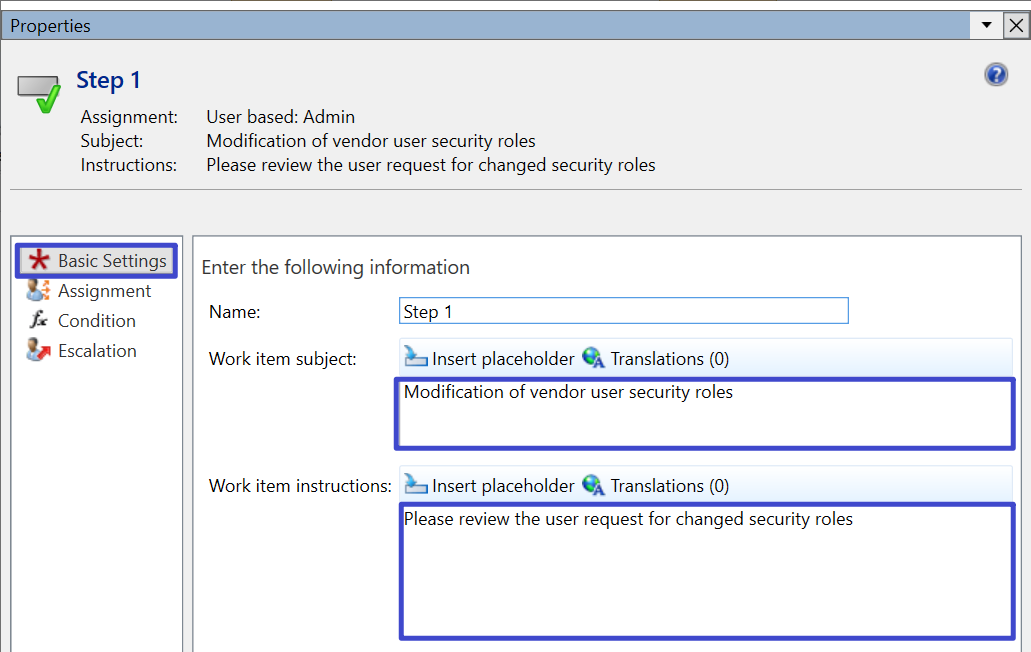
Click, basic setting
Work item subject, Modification of vendor user security roles
Work item instruction, Please review the user request for changed security roles
Click, assignment
Click, assignment type
Click, user

Click, user
Drag & Select admin
Click, close button

Automated Provision User 2
Drag, automated provision user
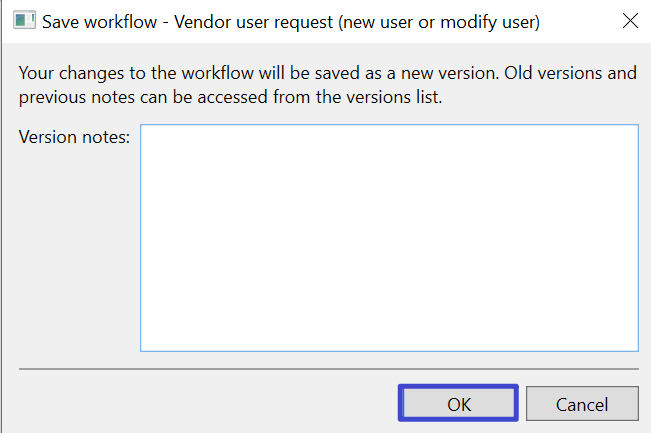
Click, save and close
Click, ok button
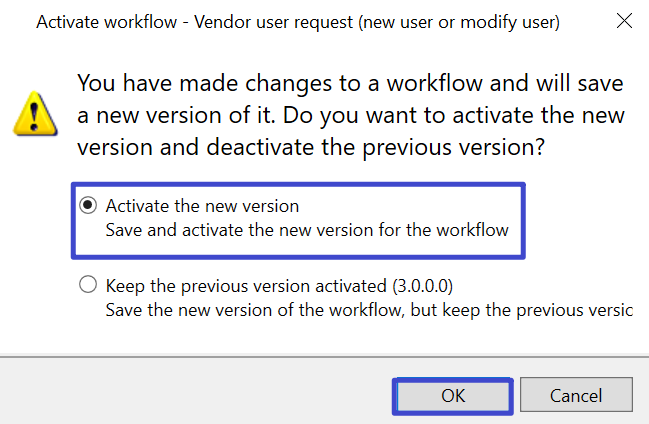
Enable activate the new version
Click , ok button


Leave a Reply
You must be logged in to post a comment.

